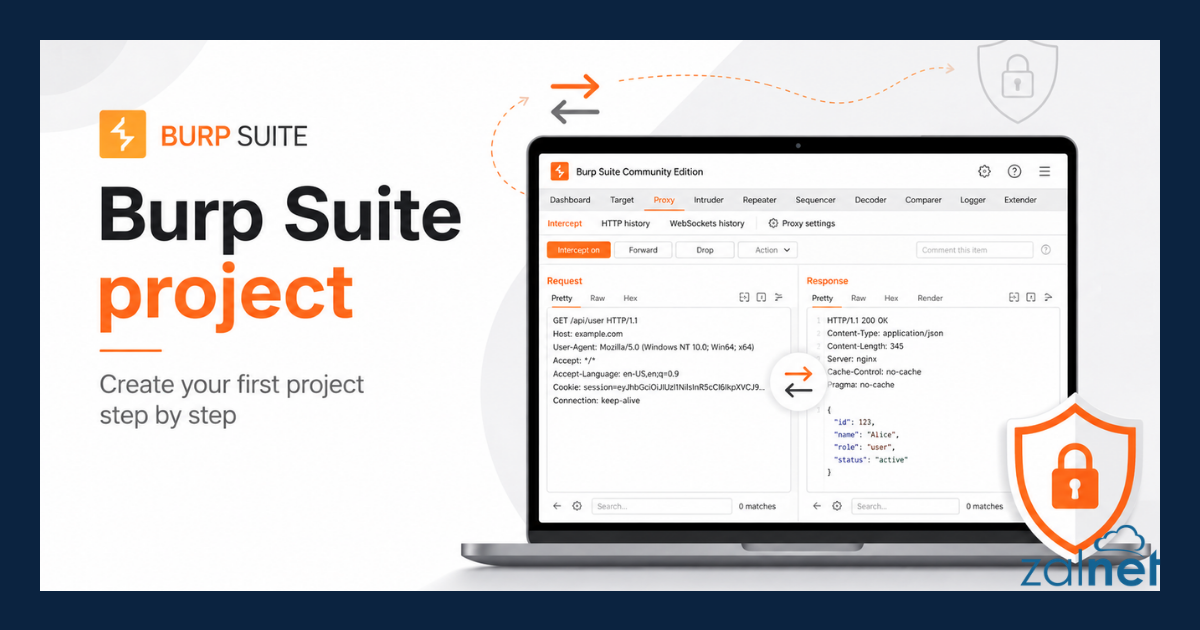
Burp Suite Project: How to Create Your First Project
A Burp Suite project gives you a dedicated workspace for testing a web application. It stores information such as HTTP requests, responses, the target site map, Repeater tabs and project-specific settings. In this guide, you will create your first project, launch Burp’s built-in browser and check whether Burp Suite can capture traffic correctly.
The instructions are suitable for beginners using Burp Suite Community Edition or Burp Suite Professional.
Important: Only test applications that you own or have explicit permission to assess. If you need a safe place to practise, use the deliberately vulnerable laboratories available in the PortSwigger Web Security Academy.
What is a Burp Suite project?
A Burp Suite project is a workspace associated with a particular application, laboratory or penetration test. Keeping separate projects helps you organise captured traffic and avoid mixing information from unrelated tests.
For example, you might create individual projects for:
- a PortSwigger Web Security Academy laboratory;
- an application tested during an authorised security assessment;
- a training environment;
- a bug bounty programme;
- preparation for the Burp Suite Certified Practitioner examination.
A project may contain sensitive information, including session cookies, authentication tokens, request parameters and server responses. Therefore, protect project files in the same way as other security-testing data.
If you are learning Burp Suite as part of your BSCP preparation, you can also read about the Bee BSCP learning challenge.
What do you need before creating a Burp Suite project?
Before you begin, make sure that you have:
- Burp Suite Community Edition or Professional installed;
- a computer that meets the application’s system requirements;
- a safe application or laboratory to test;
- enough free disk space if you intend to save the project;
- permission to test the selected target.
You can download the current version from the official Burp Suite download page.
Burp Suite includes its own Chromium-based browser. Consequently, you do not have to configure Firefox, Chrome or a system-wide proxy for your first exercise. The built-in browser is already prepared to send traffic through Burp Proxy.
Temporary and disk-based Burp Suite projects
When Burp Suite starts, its startup wizard asks you to choose a project type. The available options may depend on your Burp Suite edition.
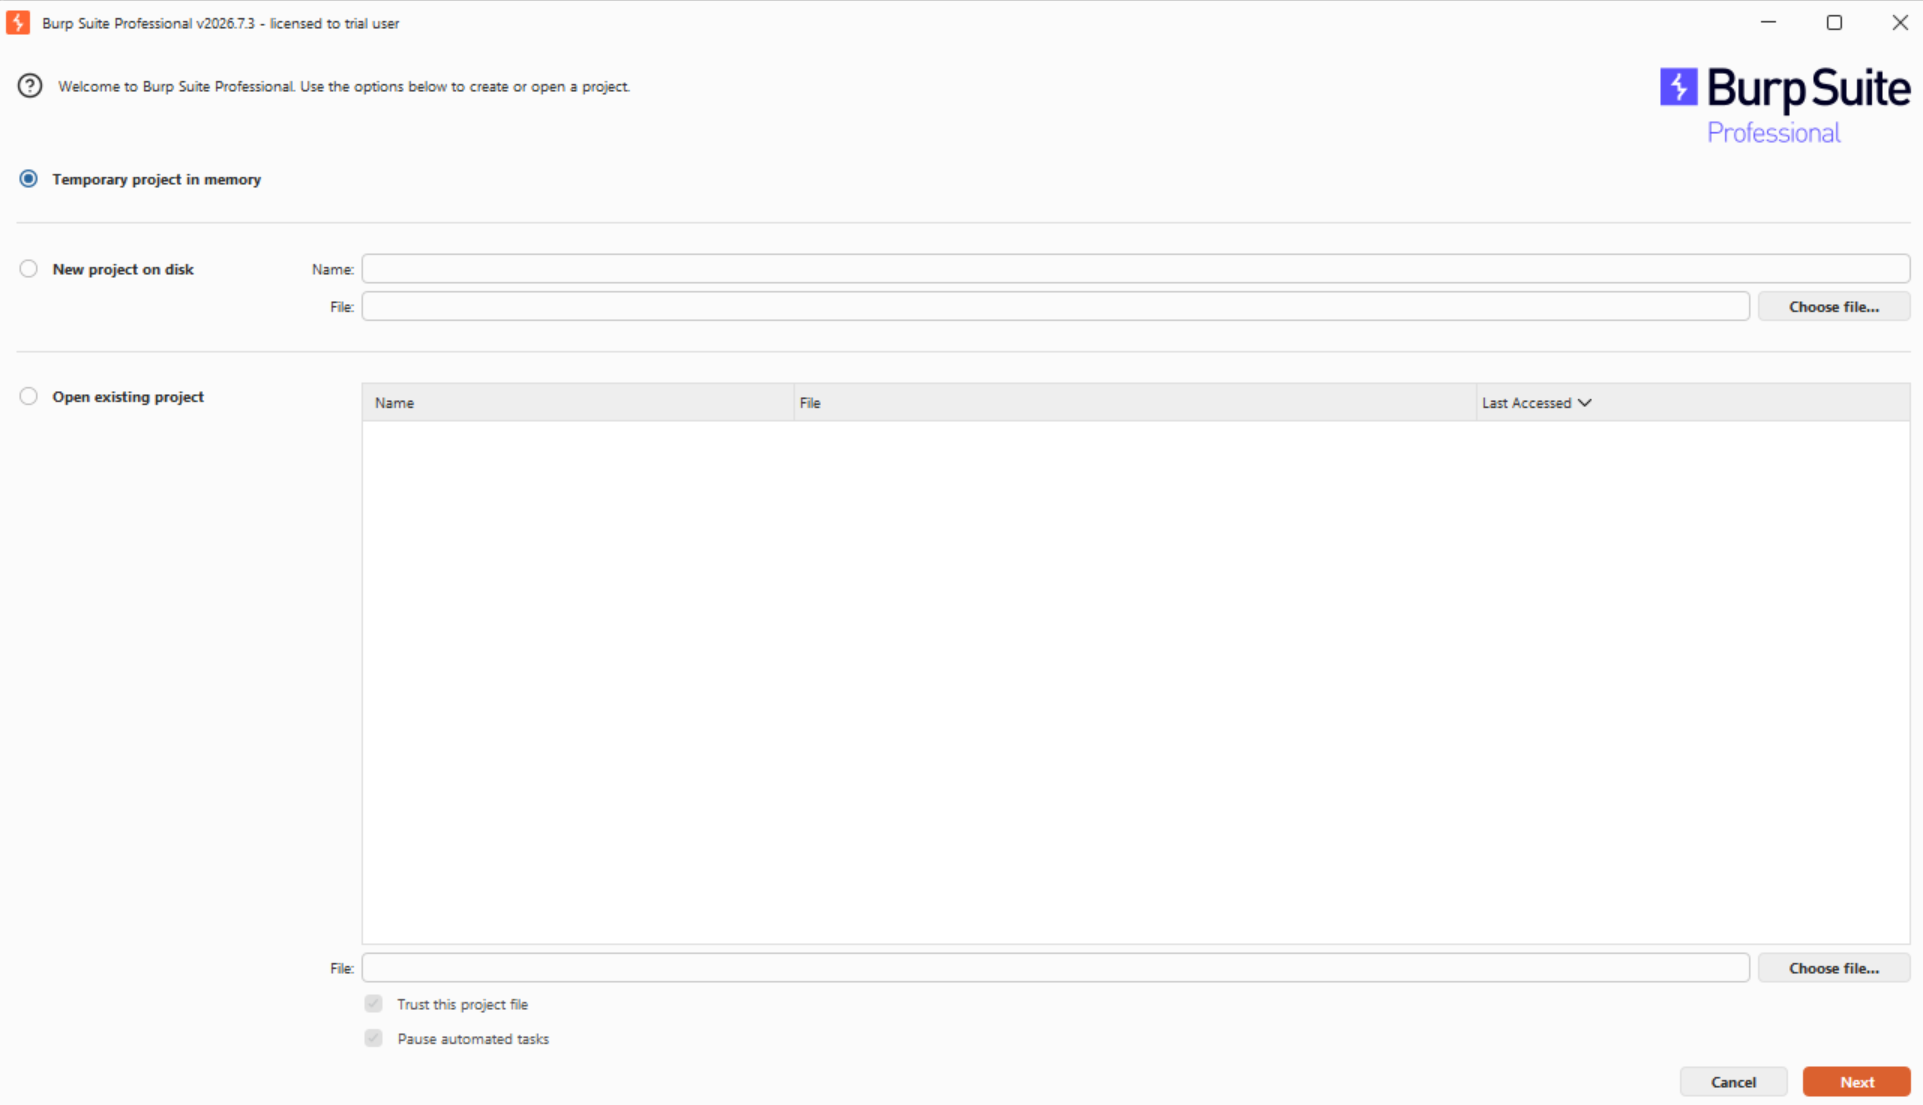
Temporary project
A temporary project stores its data in memory. It is useful for short exercises, demonstrations and individual Web Security Academy laboratories.
However, Burp deletes the project data when you close the application. You will not be able to resume your work later.
Choose a temporary project when:
- you are following this tutorial for the first time;
- you are completing a short laboratory;
- you do not need to preserve HTTP history;
- you want to test Burp without creating a project file.
For most beginners using Community Edition, this is the simplest option.
New project on disk
A disk-based Burp Suite project stores its data in a project file. As a result, you can close Burp and continue working later.
This option is useful during longer assessments because it can retain items such as:
- Proxy history;
- the Target site map;
- Repeater tabs;
- discovered application content;
- project-level settings;
- scan information available in Burp Suite Professional.
According to the official PortSwigger documentation, project files should be stored on a local drive. Avoid placing an active project file directly on a network share or synchronised cloud folder.
Disk-based project functionality is associated with Burp Suite Professional. If the startup wizard only allows you to select a temporary project, continue with that option.
How to create your first Burp Suite project
Let us now create a simple project for a training laboratory.
Step 1: Start Burp Suite
- Open Burp Suite from the Start menu, desktop shortcut or application launcher.
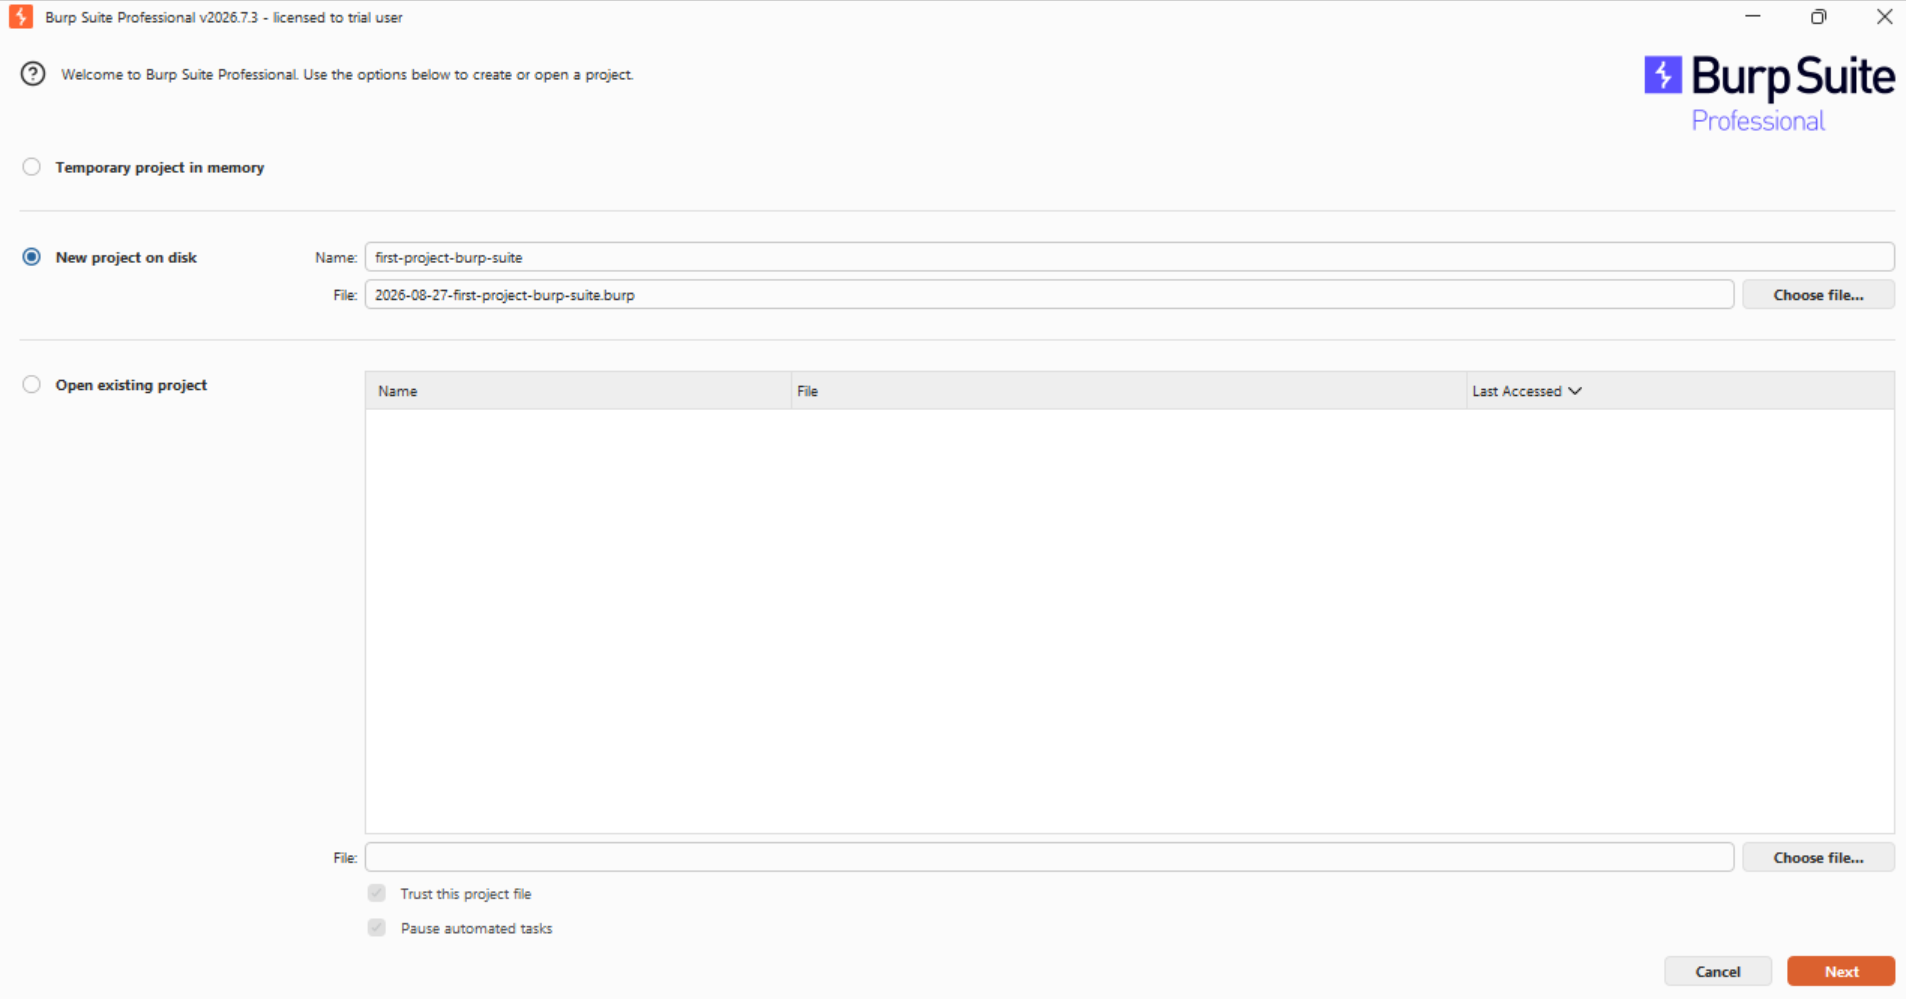
- After the programme loads, you should see the startup wizard. It allows you to create a new project or open an existing one.
- If this is your first time using Burp, some options may be disabled or unavailable. That is normal and often depends on the installed edition.
Step 2: Select a project type
- For your first exercise, select: Temporary project. Then click Next.
- This choice allows you to explore Burp without deciding where to store a file. Remember, though, that your data will disappear after you close the application.
- If you use Burp Suite Professional and want to save your work, select: New project on disk.
- Next, choose a filename and location. A clear naming convention will make your projects easier to manage. For example: portswigger-access-control-lab.burp or client-application-2026-08.burp.
Do not store authentication details or confidential client names in a filename unless your organisation’s policy permits it.
Step 3: Select a Burp configuration
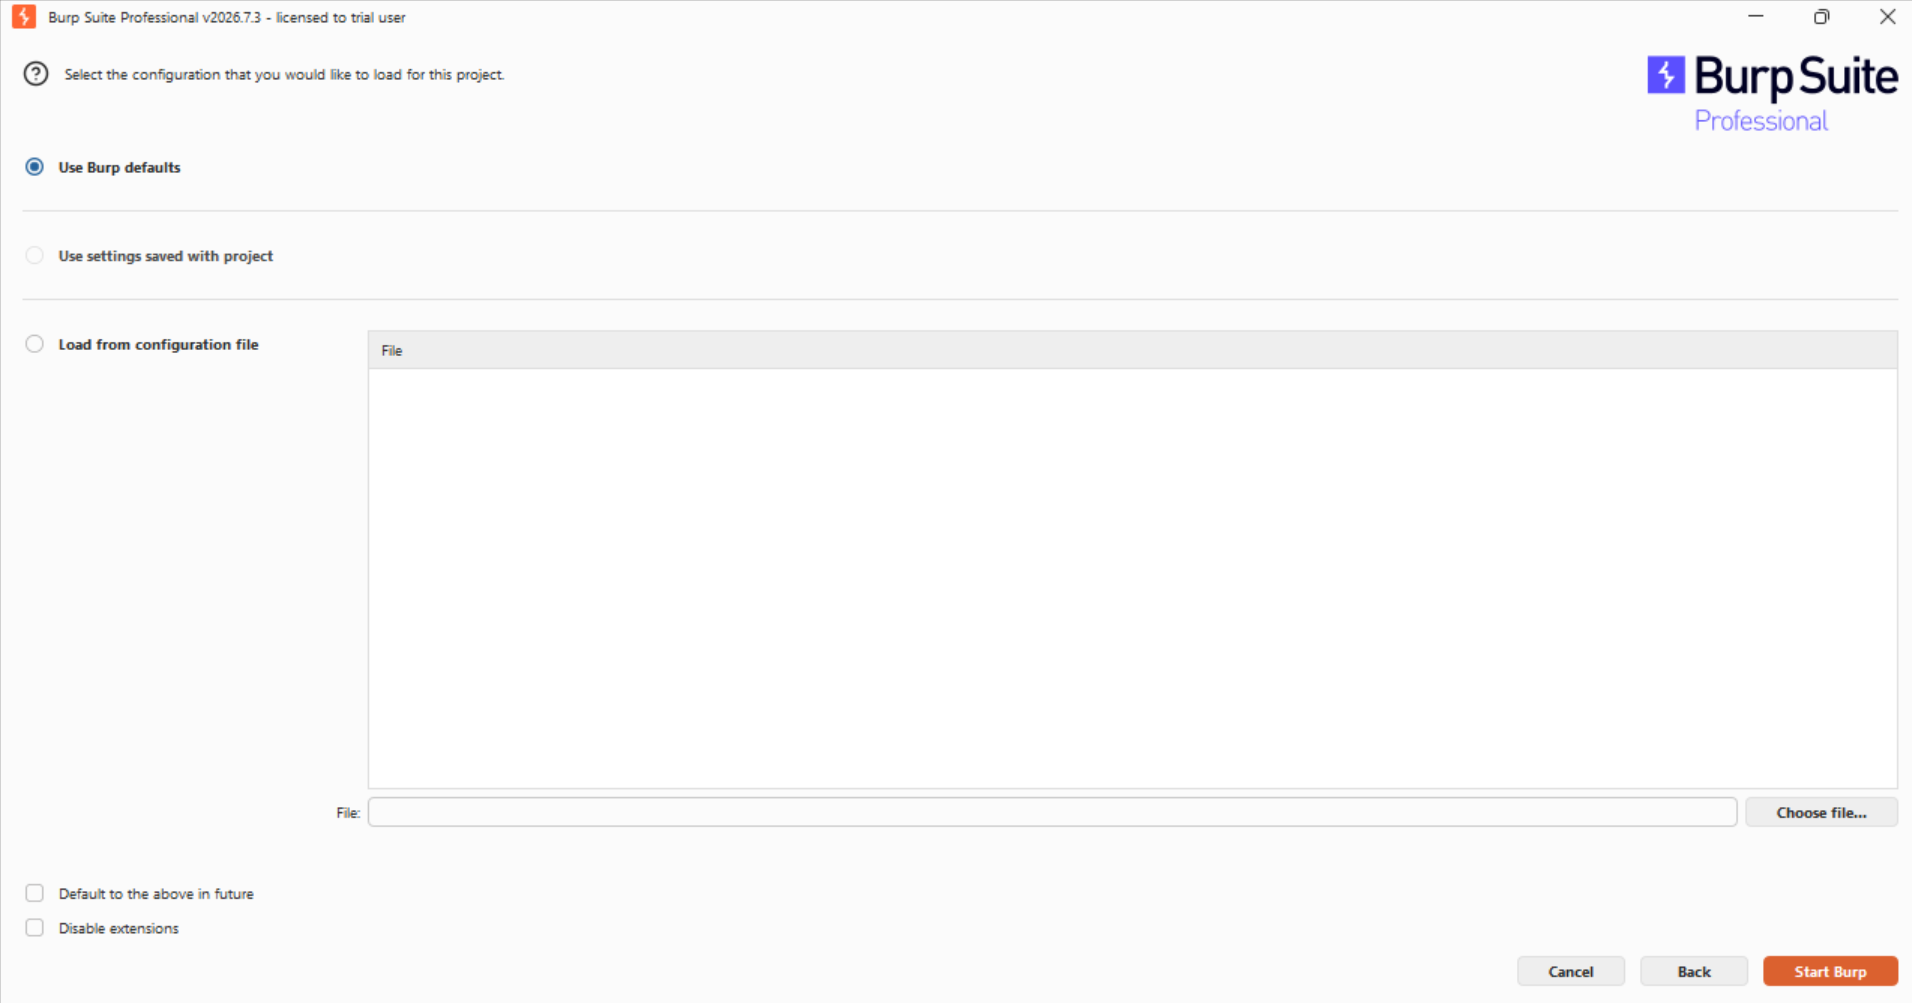
- The next screen asks which configuration Burp should use.
- For your first project, select: Use Burp defaults
- This option loads the standard settings supplied with Burp Suite. Therefore, you do not need to understand every proxy, network or session option yet.
- More experienced users may load settings from a configuration file. Such files are useful when a team needs a consistent setup or when a particular test requires custom proxy listeners, scope rules or connection settings.
- Click Start Burp.
Burp Suite may need several seconds to initialise the project and load its tools.
Understanding the Burp Suite interface
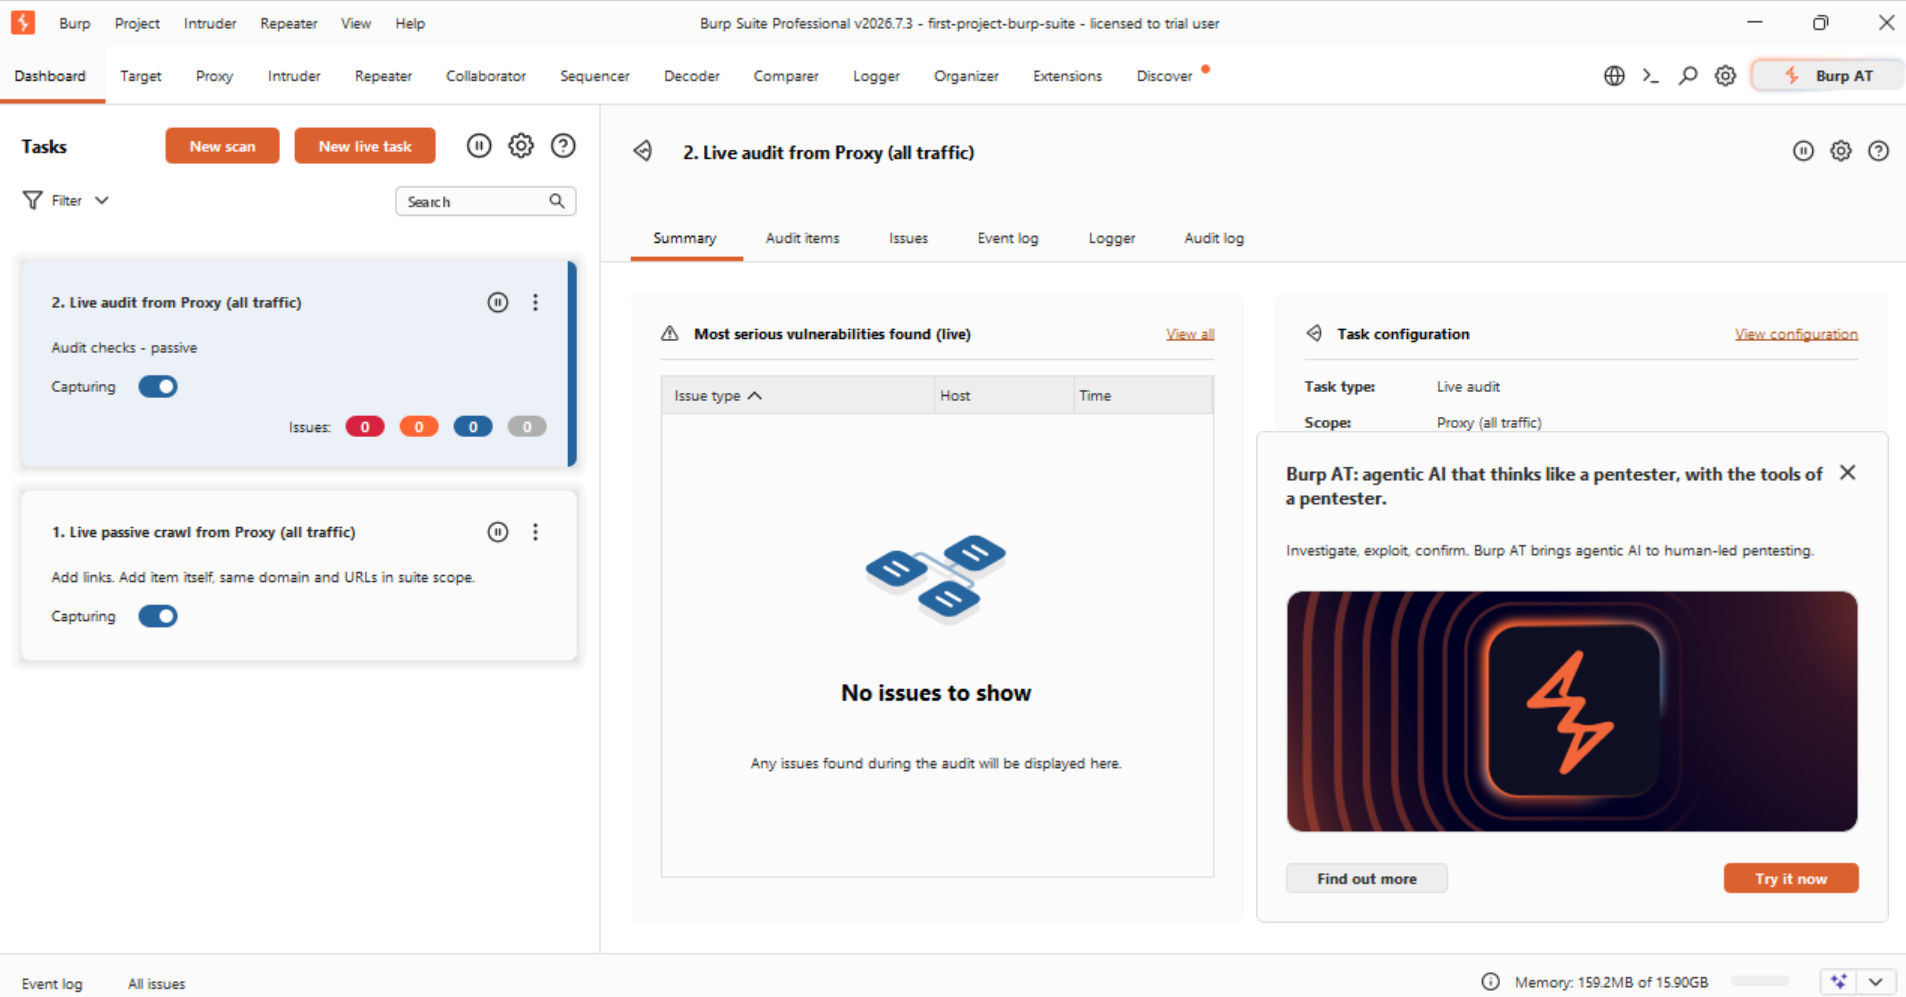
When your Burp Suite project opens, you will see several tabs. The precise set depends on the edition and version, but the most important ones for a beginner are:
Dashboard
The Dashboard shows background tasks, events and detected issues. Burp Suite Professional also uses this area to manage automated crawling and scanning.
Target
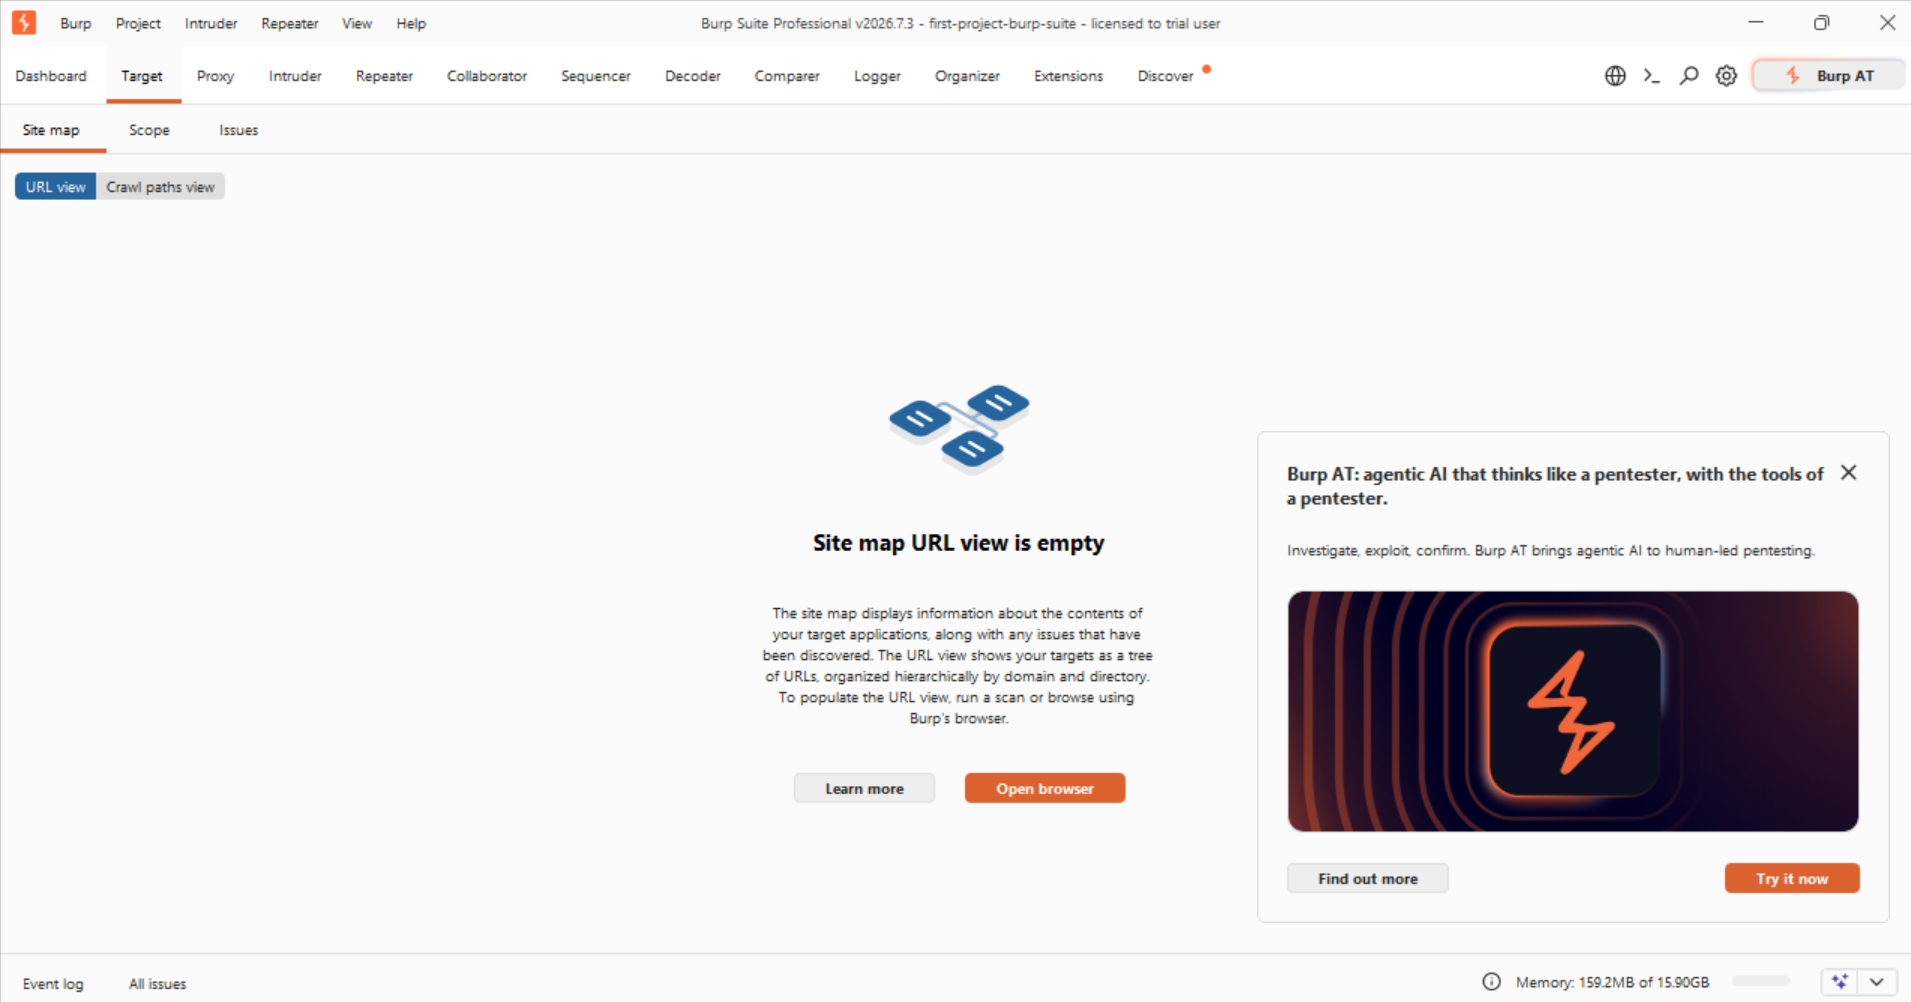
The Target tab contains the site map and scope settings. As you browse an application, Burp adds discovered hosts, directories, endpoints and files to the site map.
Proxy
Burp Proxy sits between the browser and the target application. It allows you to inspect, intercept and modify HTTP and HTTPS traffic.
Two particularly important subtabs are:
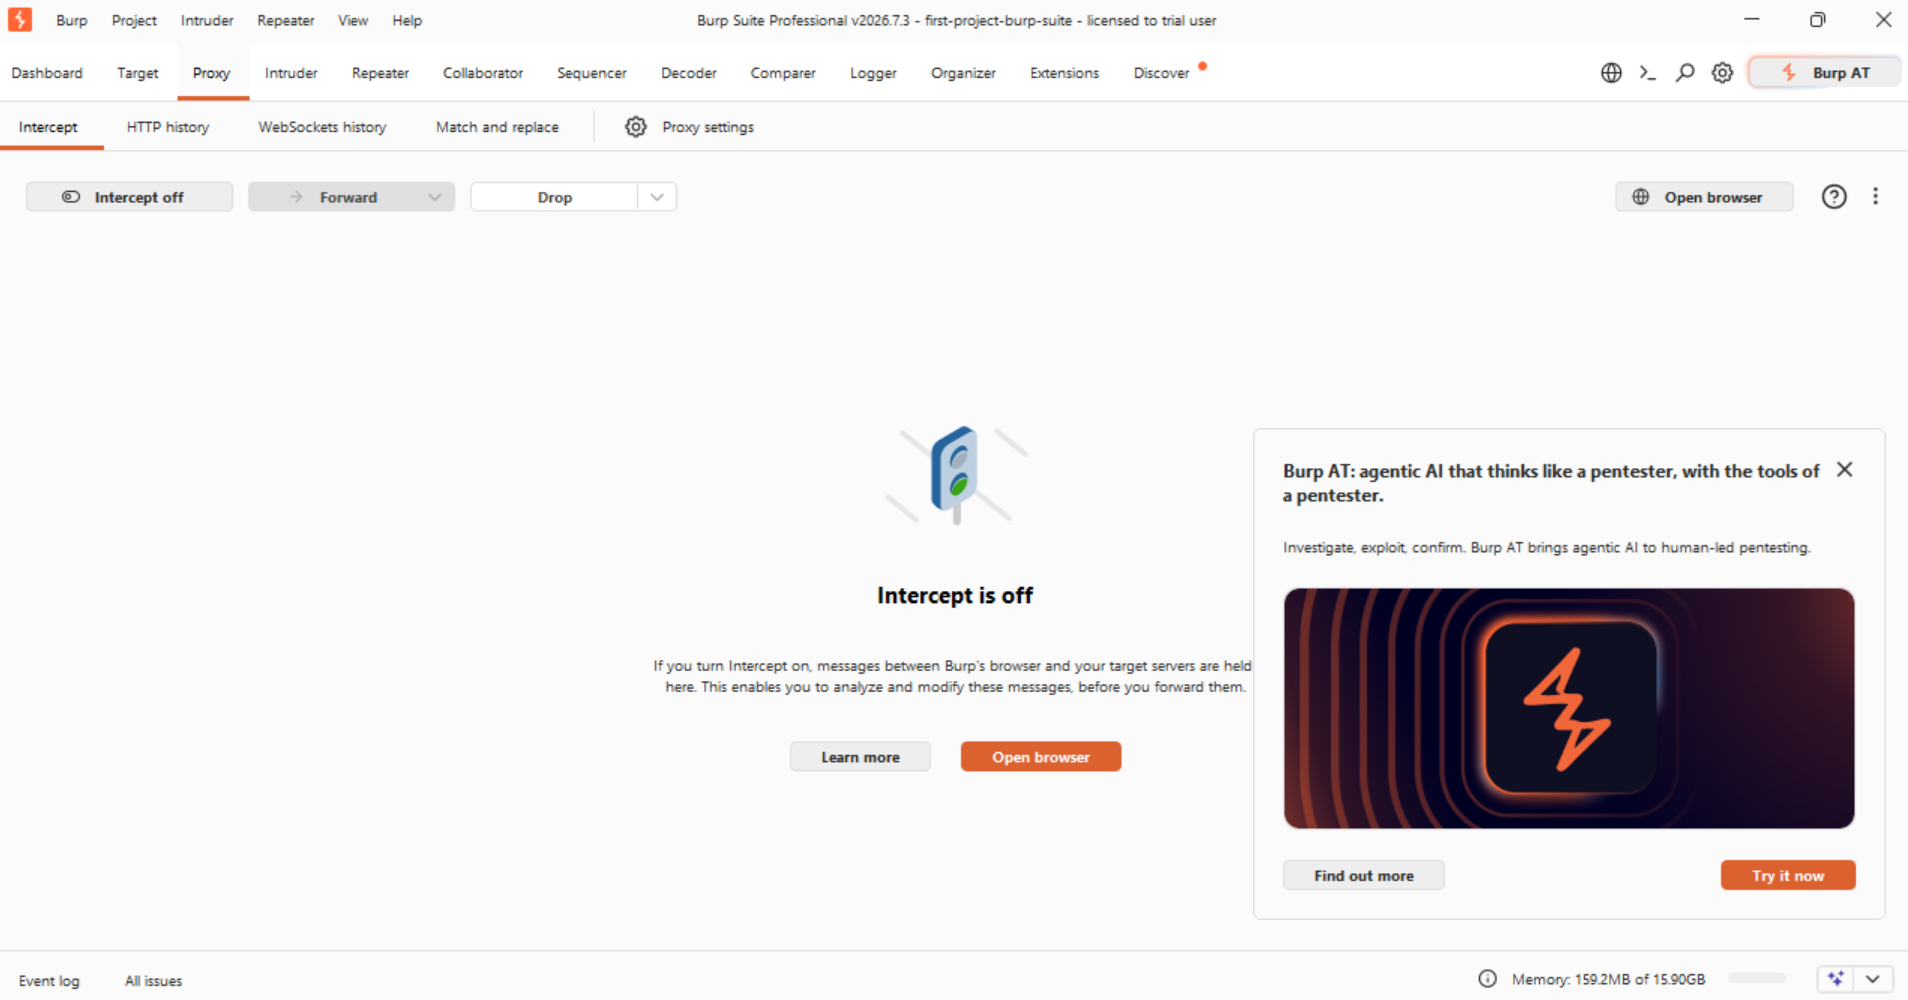
- Intercept, where you can stop requests before they reach the server;
- HTTP history, where you can review traffic that has already passed through Burp.
Repeater
Repeater allows you to resend an individual HTTP request many times. You can change parameters, headers, cookies or request bodies and then compare the responses.
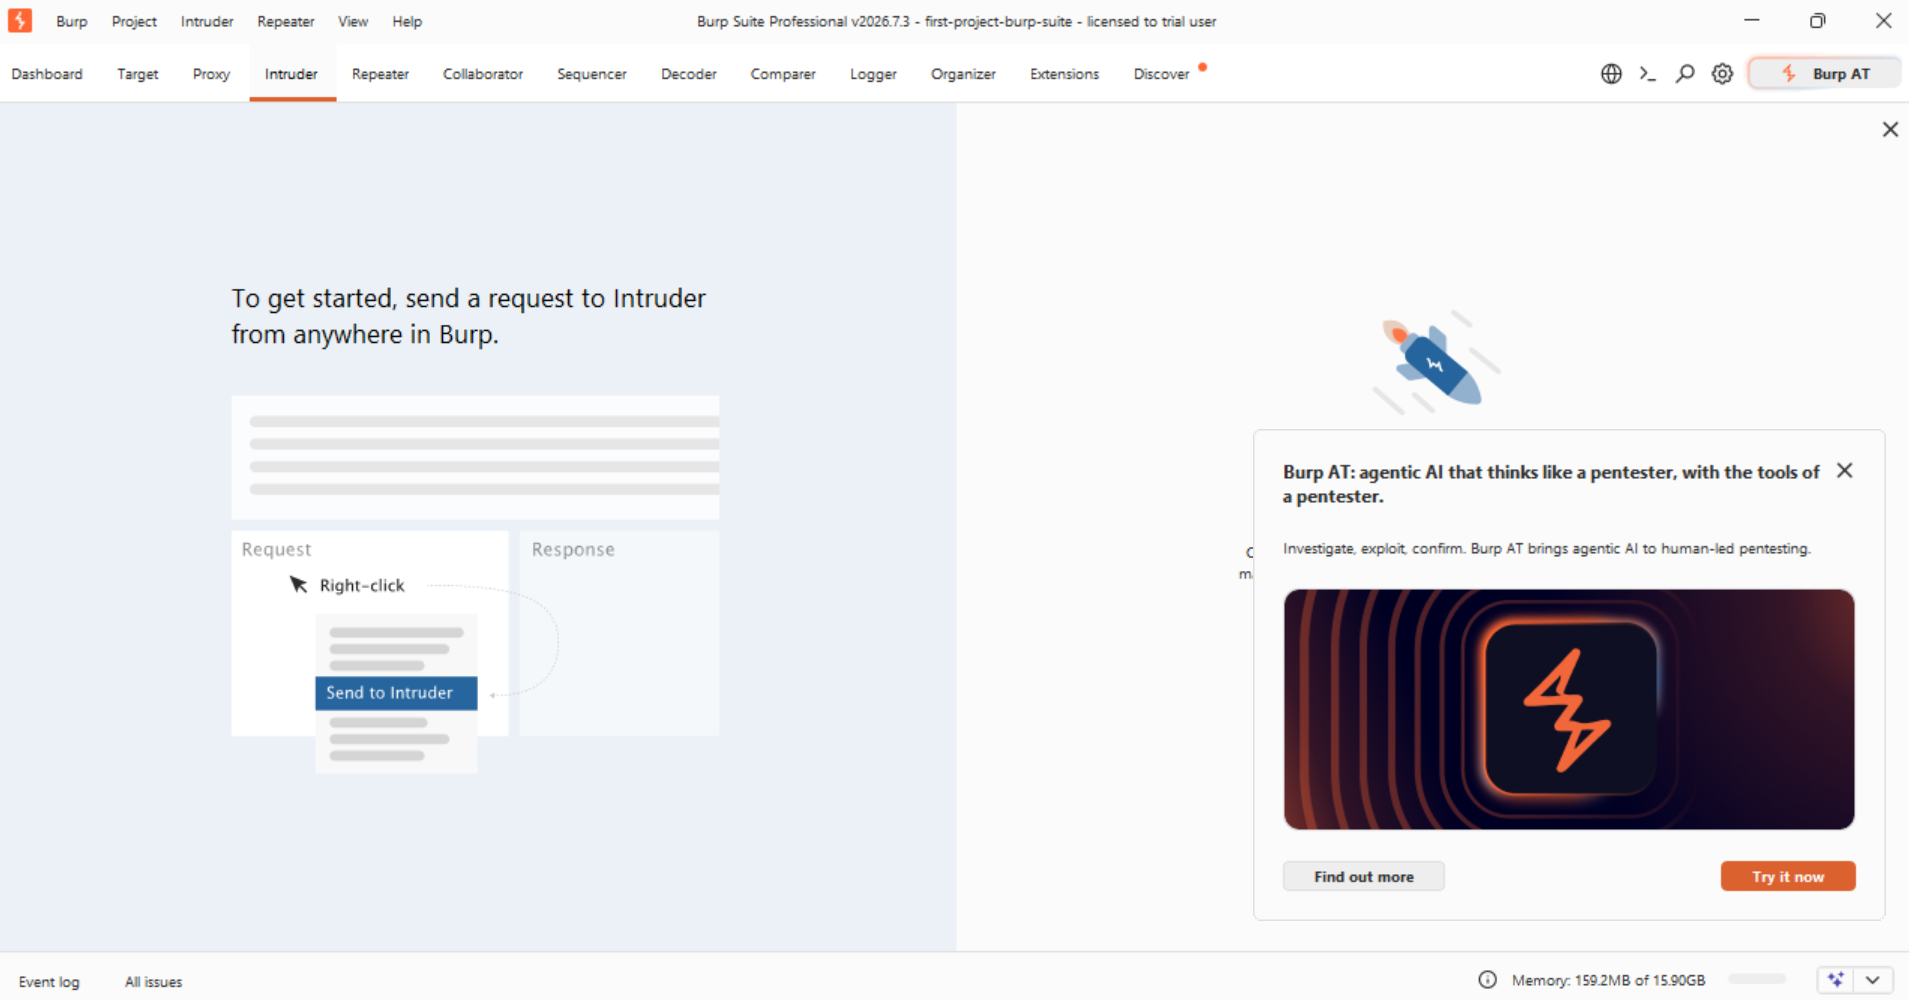
Intruder
Intruder automates repeated requests with different payloads. For instance, it can help test a list of input values. Community Edition includes a restricted version, while Professional provides faster and more extensive functionality.
How to test your first Burp Suite project
Creating the workspace is only the beginning. You should now confirm that Burp can capture browser traffic.
Step 1: Open Burp’s browser
- Go to: Proxy → Intercept
- Then click: Open browser
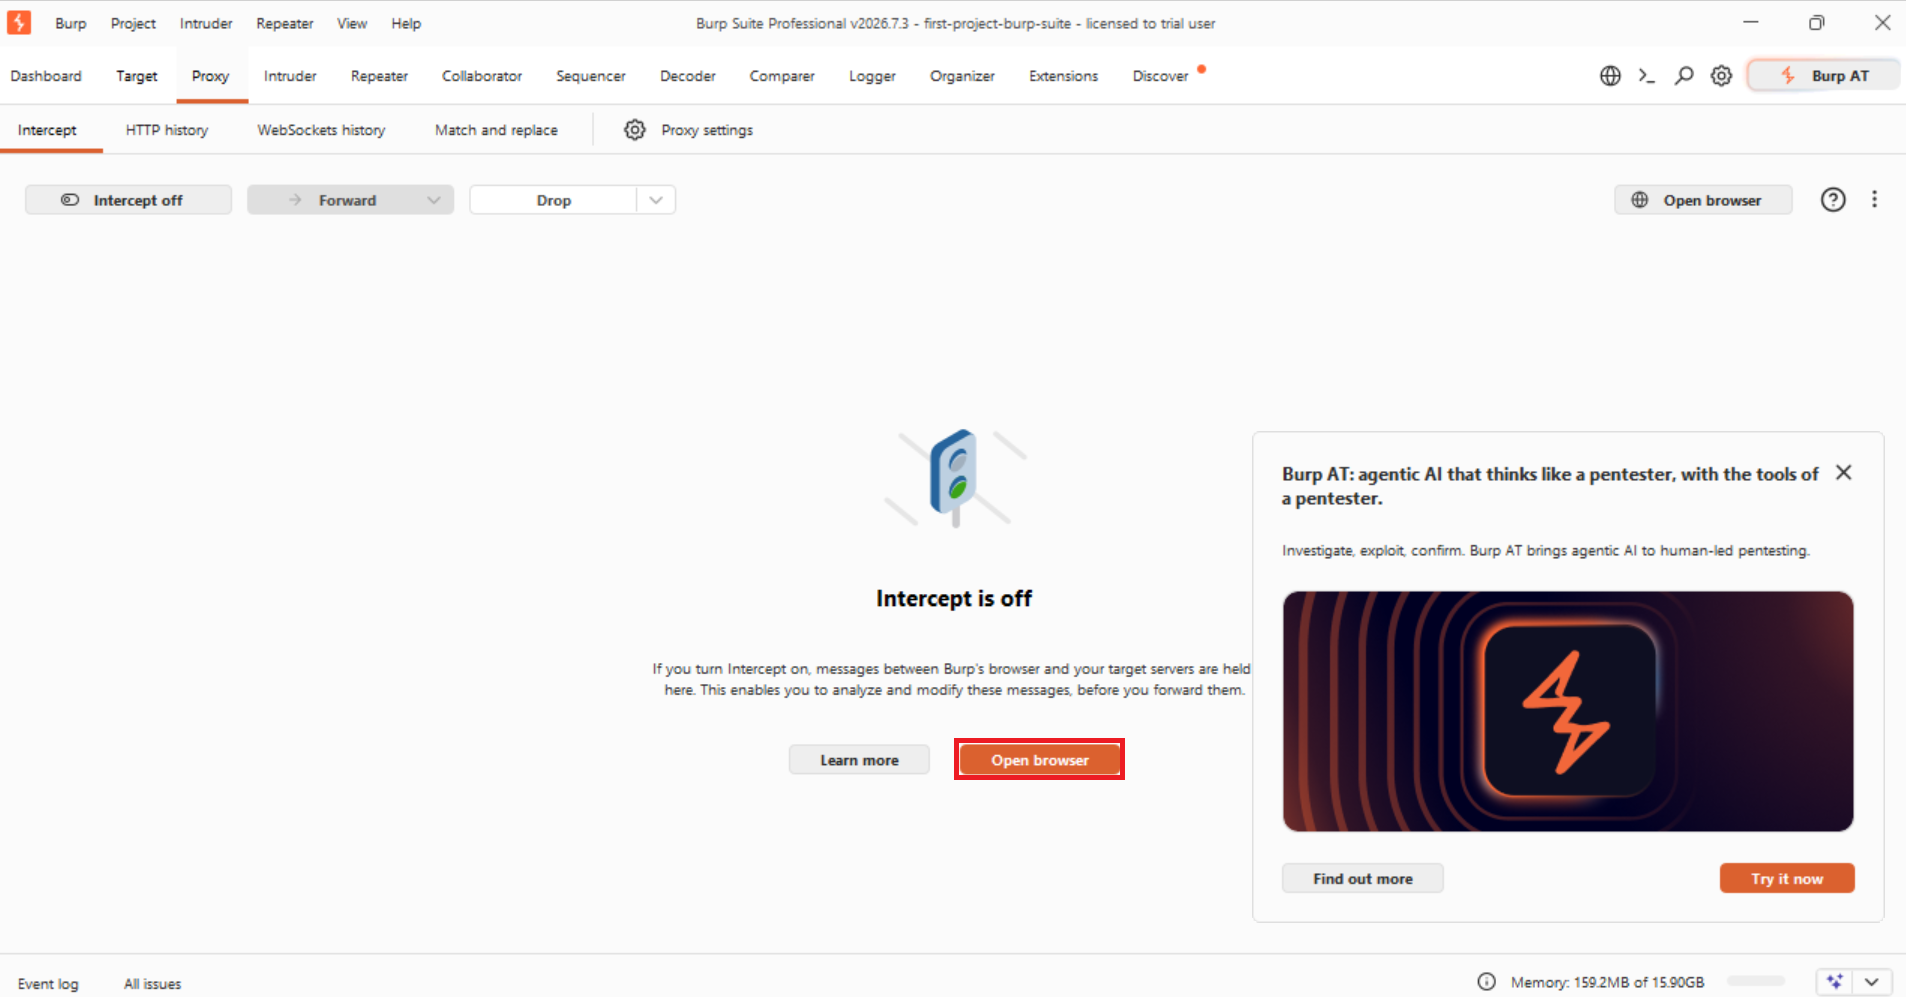
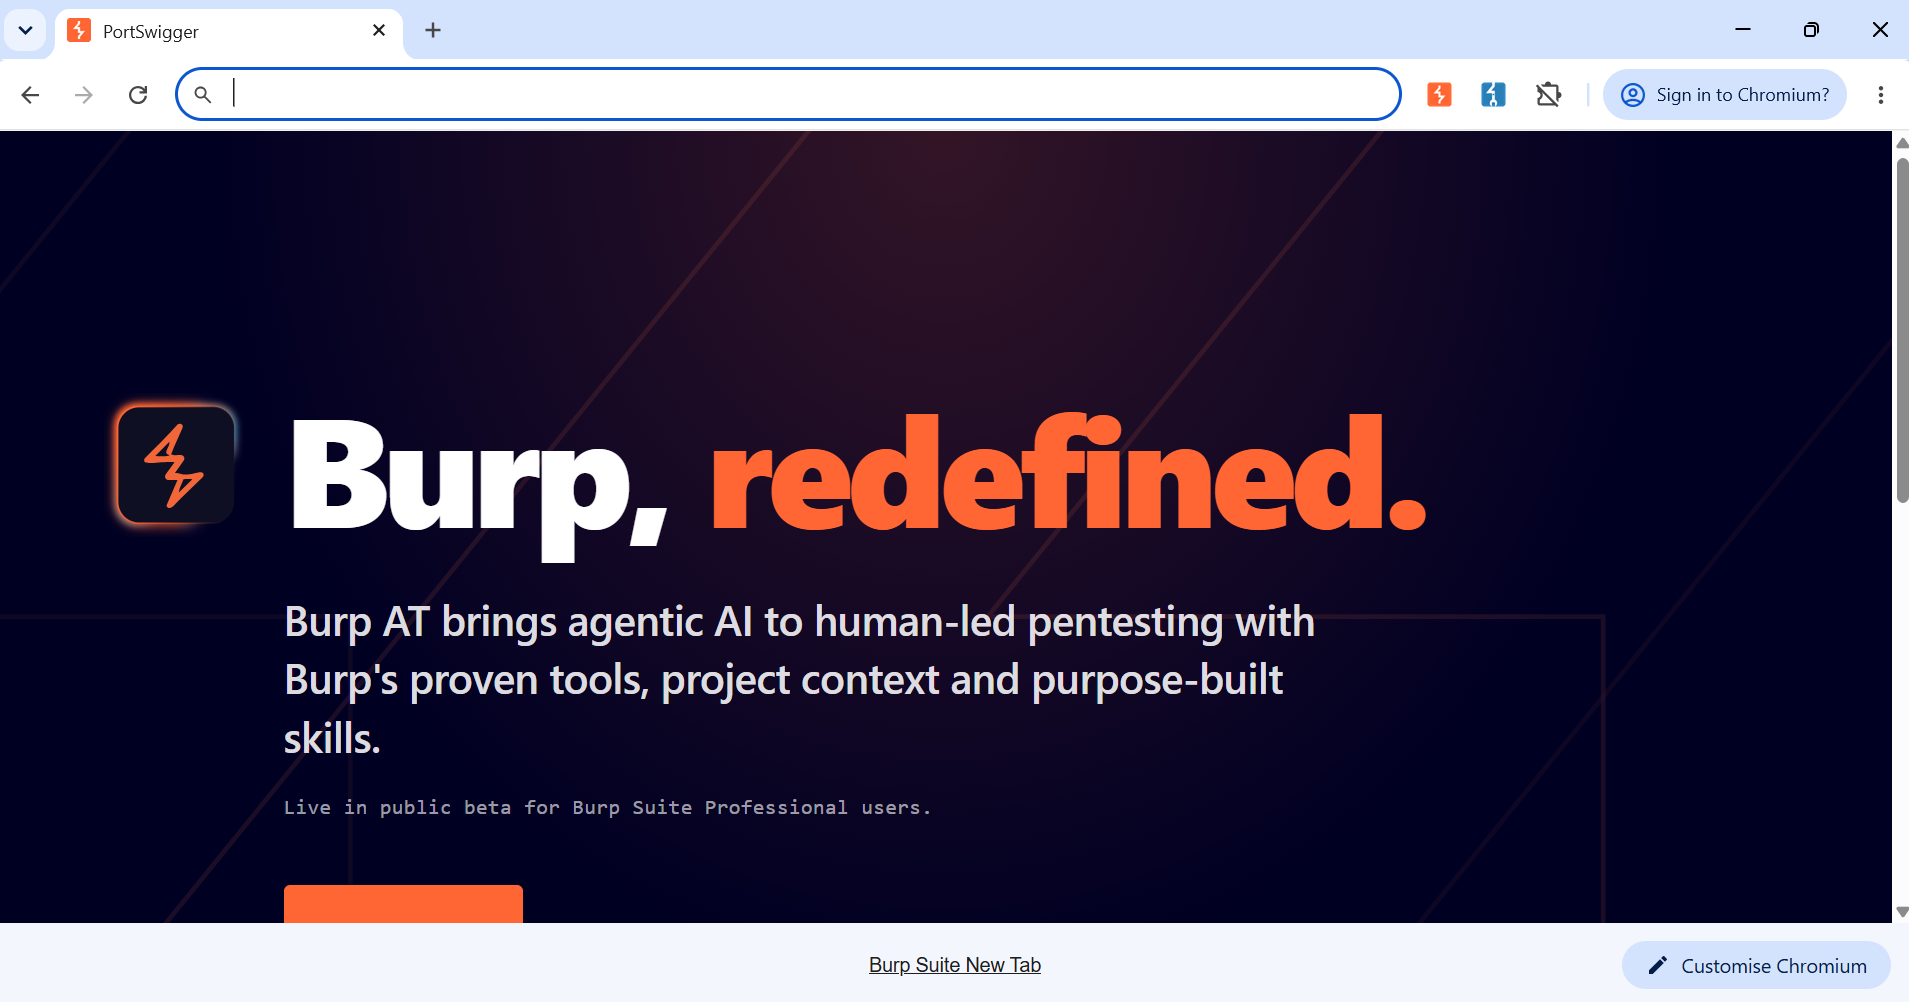
- A separate browser window will appear. Burp has already configured this browser to use its proxy, so no additional proxy settings or CA certificate installation should be required for this exercise.
Step 2: Check the Intercept setting
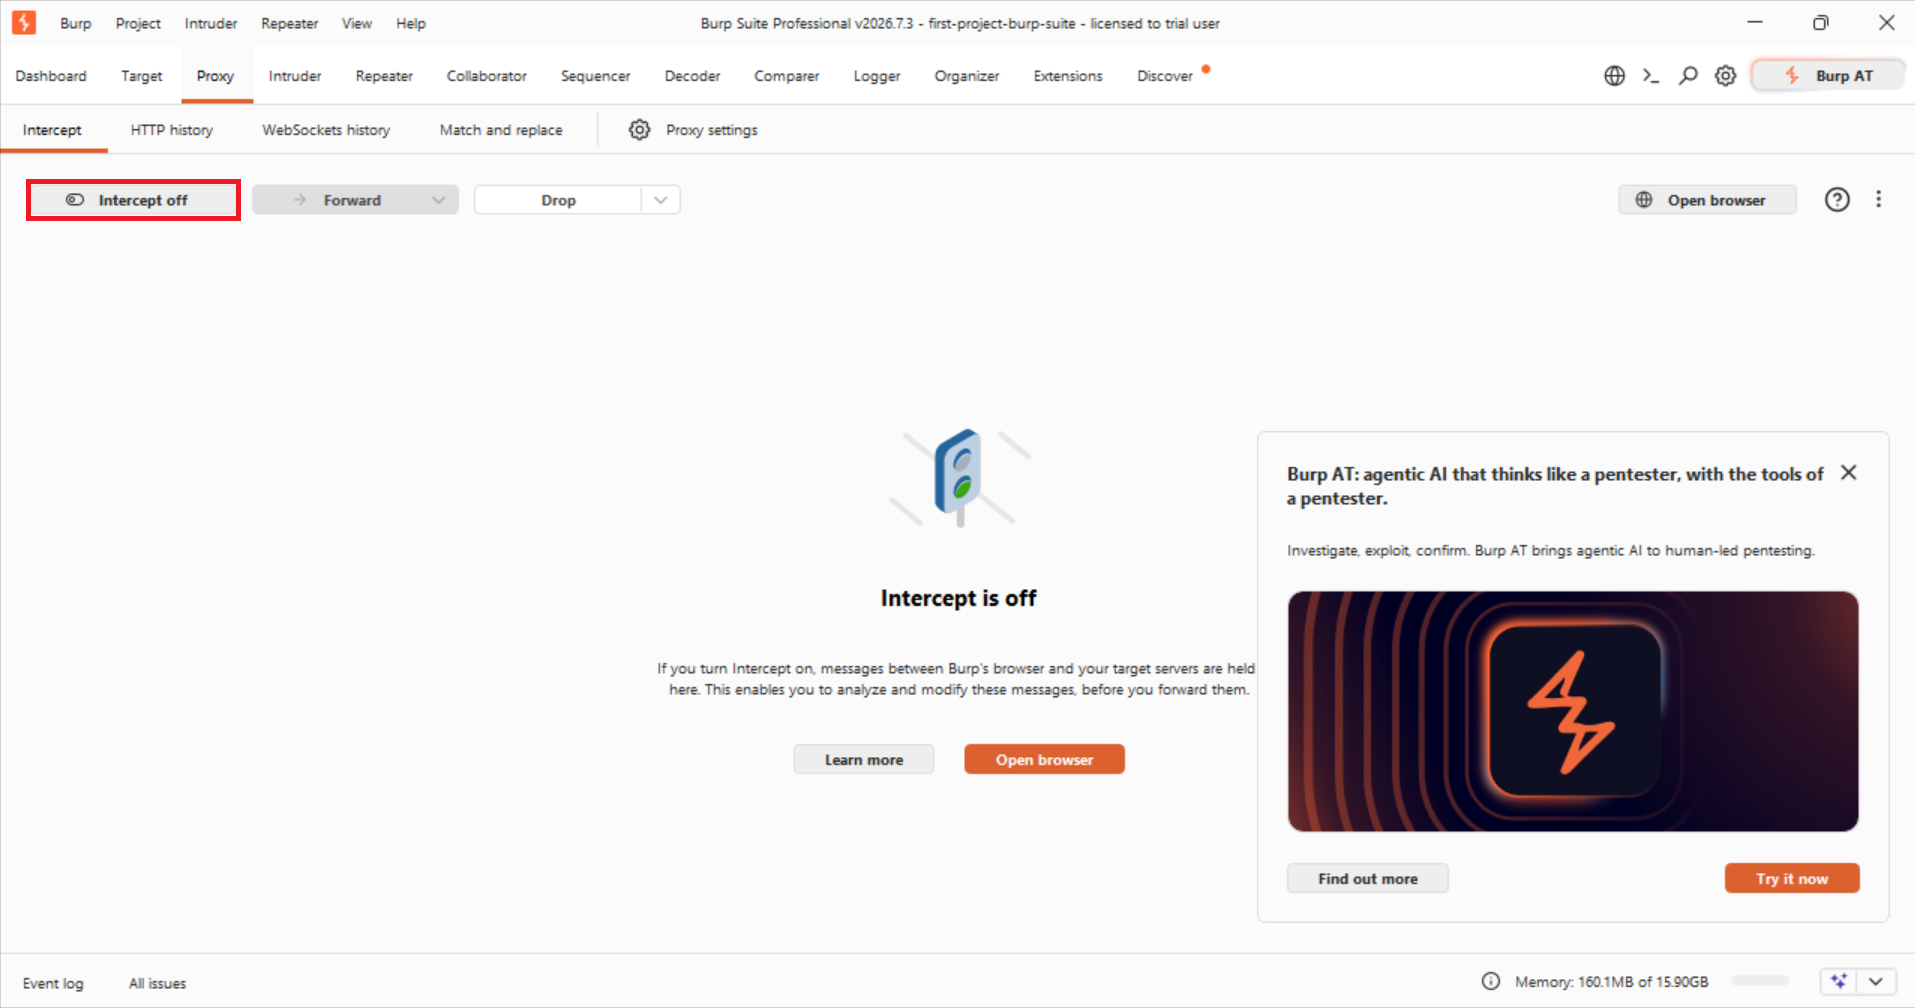
- In the Proxy tab, locate the button displaying either: Intercept on, or Intercept off.
- When interception is on, Burp pauses each matching request until you decide what to do with it. This is useful for modifying requests, although it can feel confusing at first because the browser may appear to stop loading.
- To browse normally while recording traffic, set the button to: Intercept off.
- Burp will still save the traffic in HTTP history. It simply will not pause every request.
Step 3: Visit a safe target
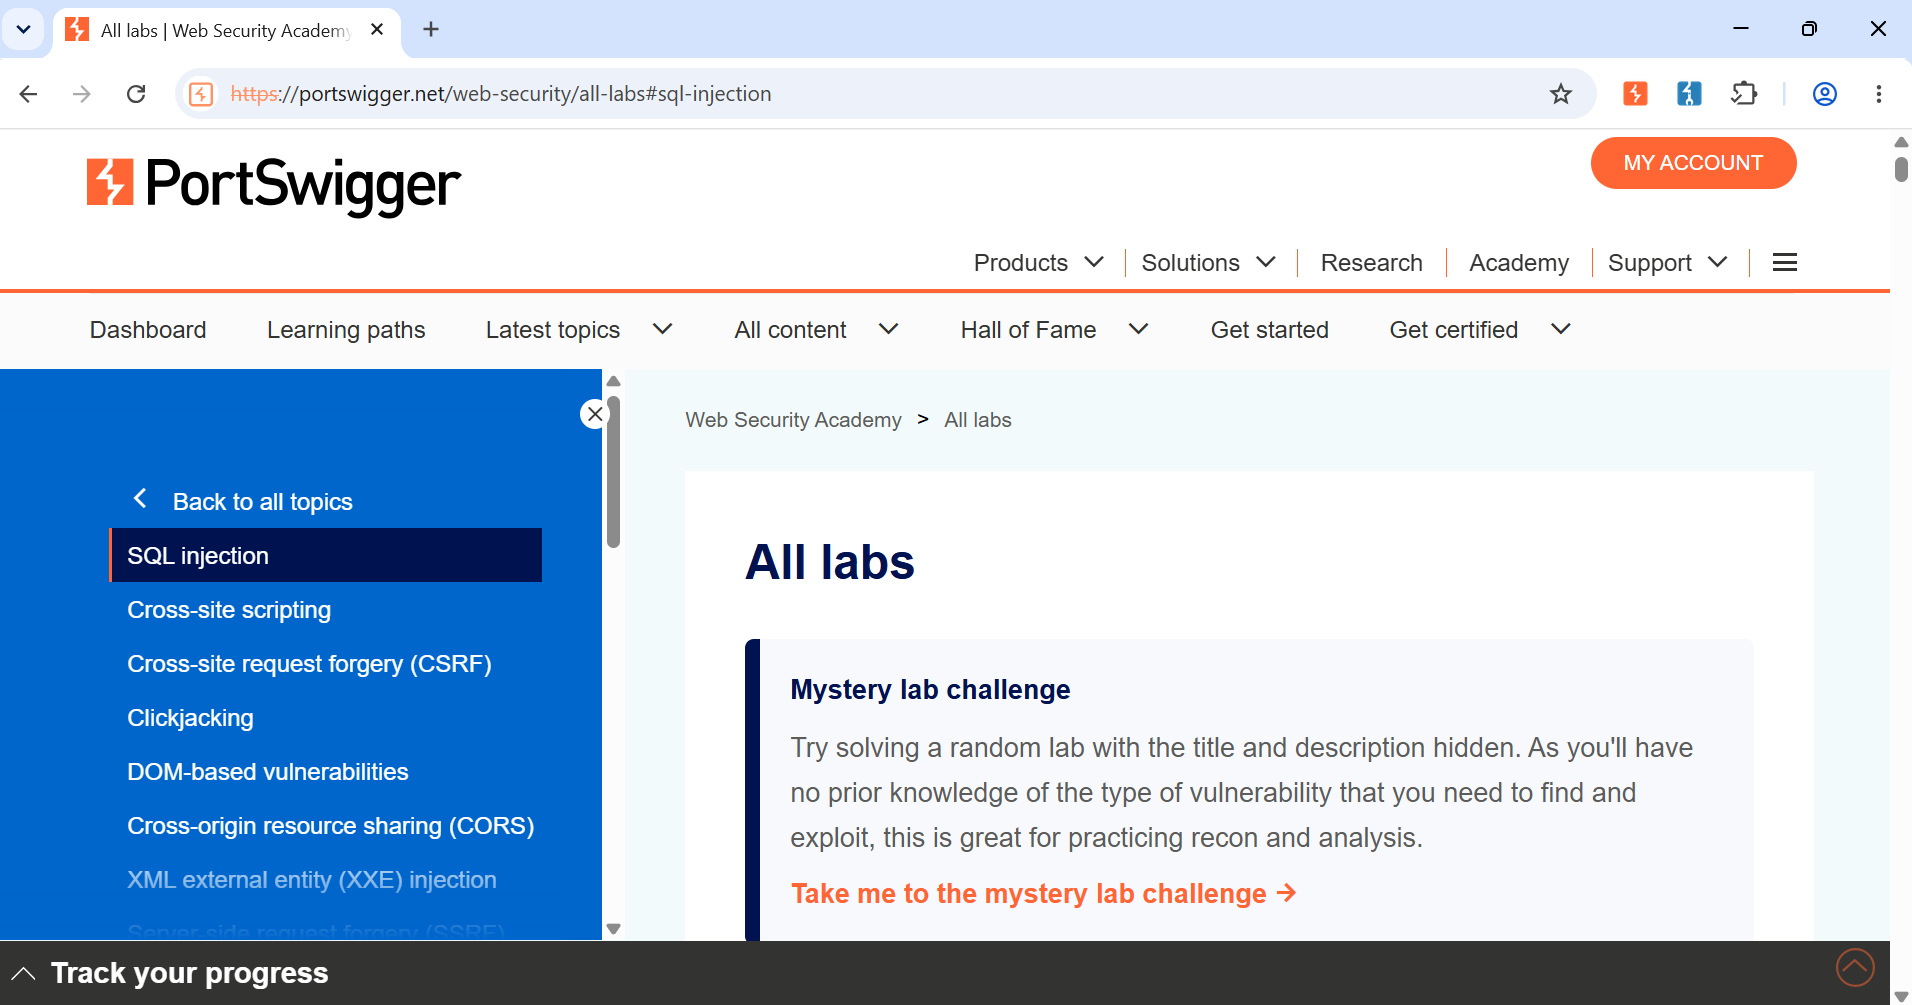
- In Burp’s browser, open a Web Security Academy laboratory or another application that you are authorised to test.
- For example, sign in to the PortSwigger Web Security Academy, open an Apprentice-level laboratory and click Access the lab.
- Browse several pages in the application. You can click links, submit a search form or open a product page.
Step 4: Review the captured traffic
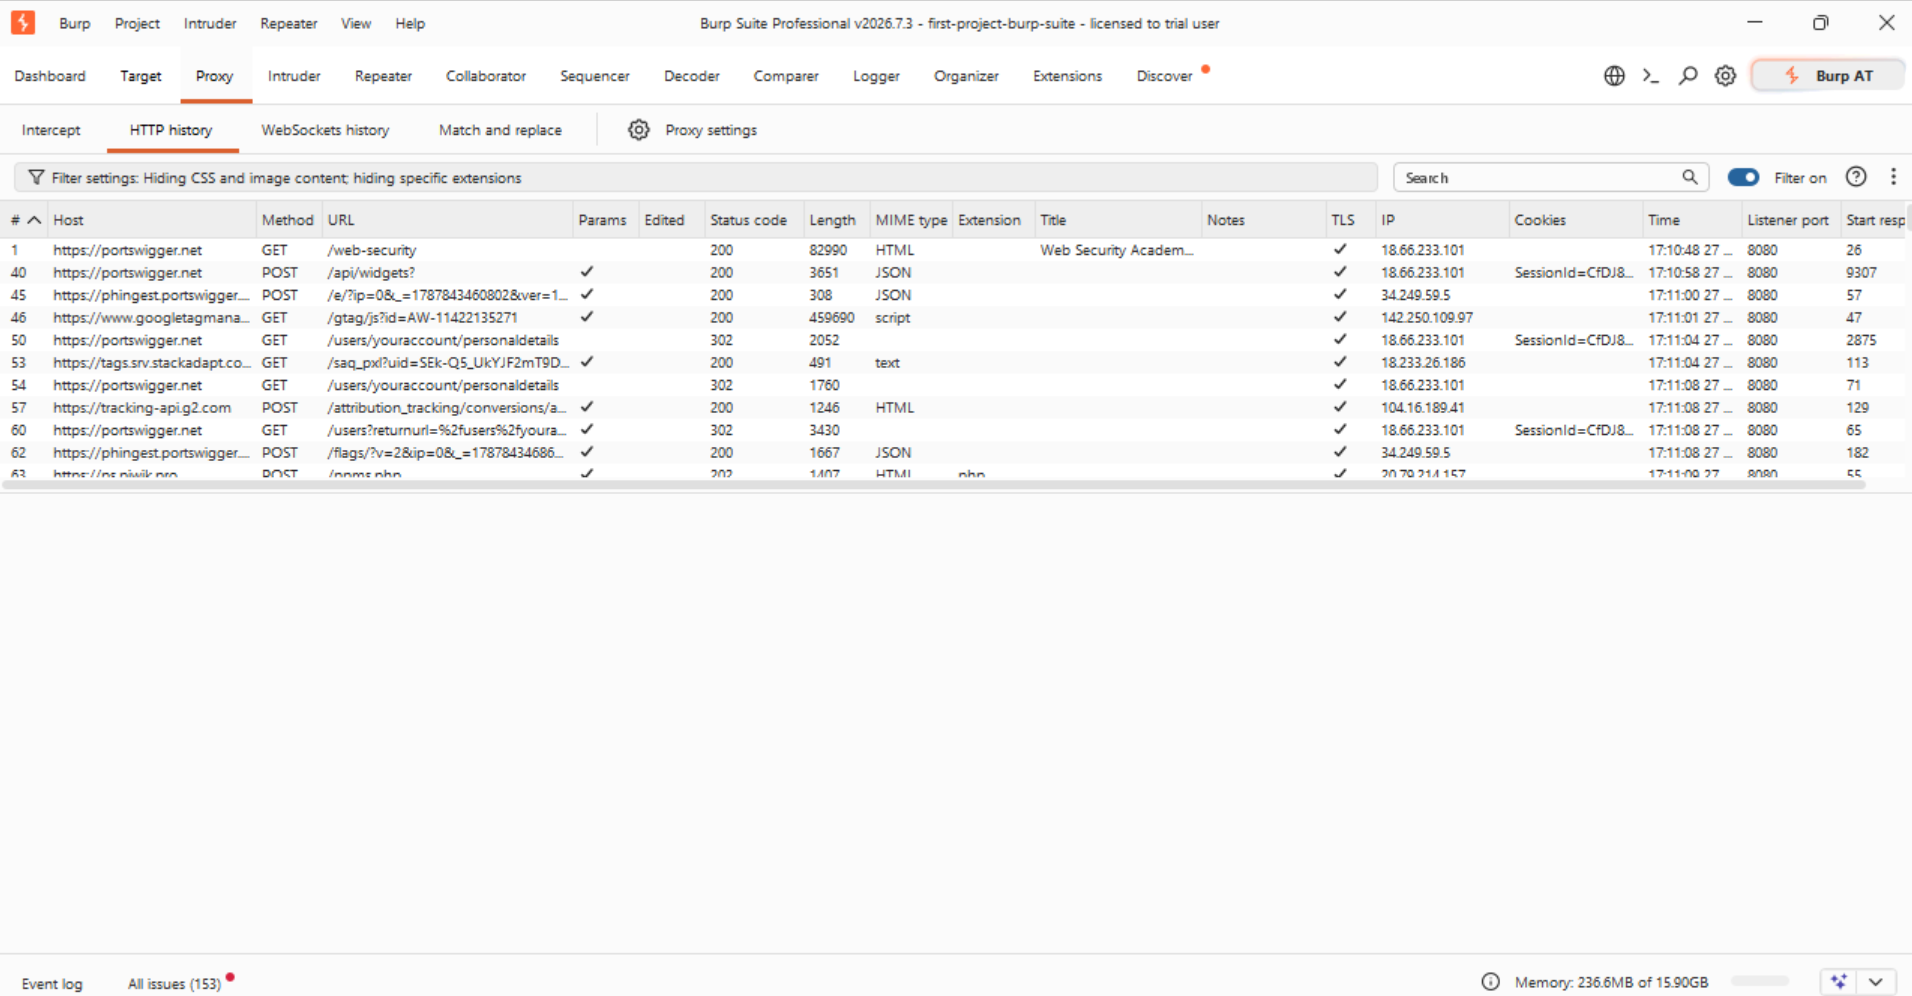
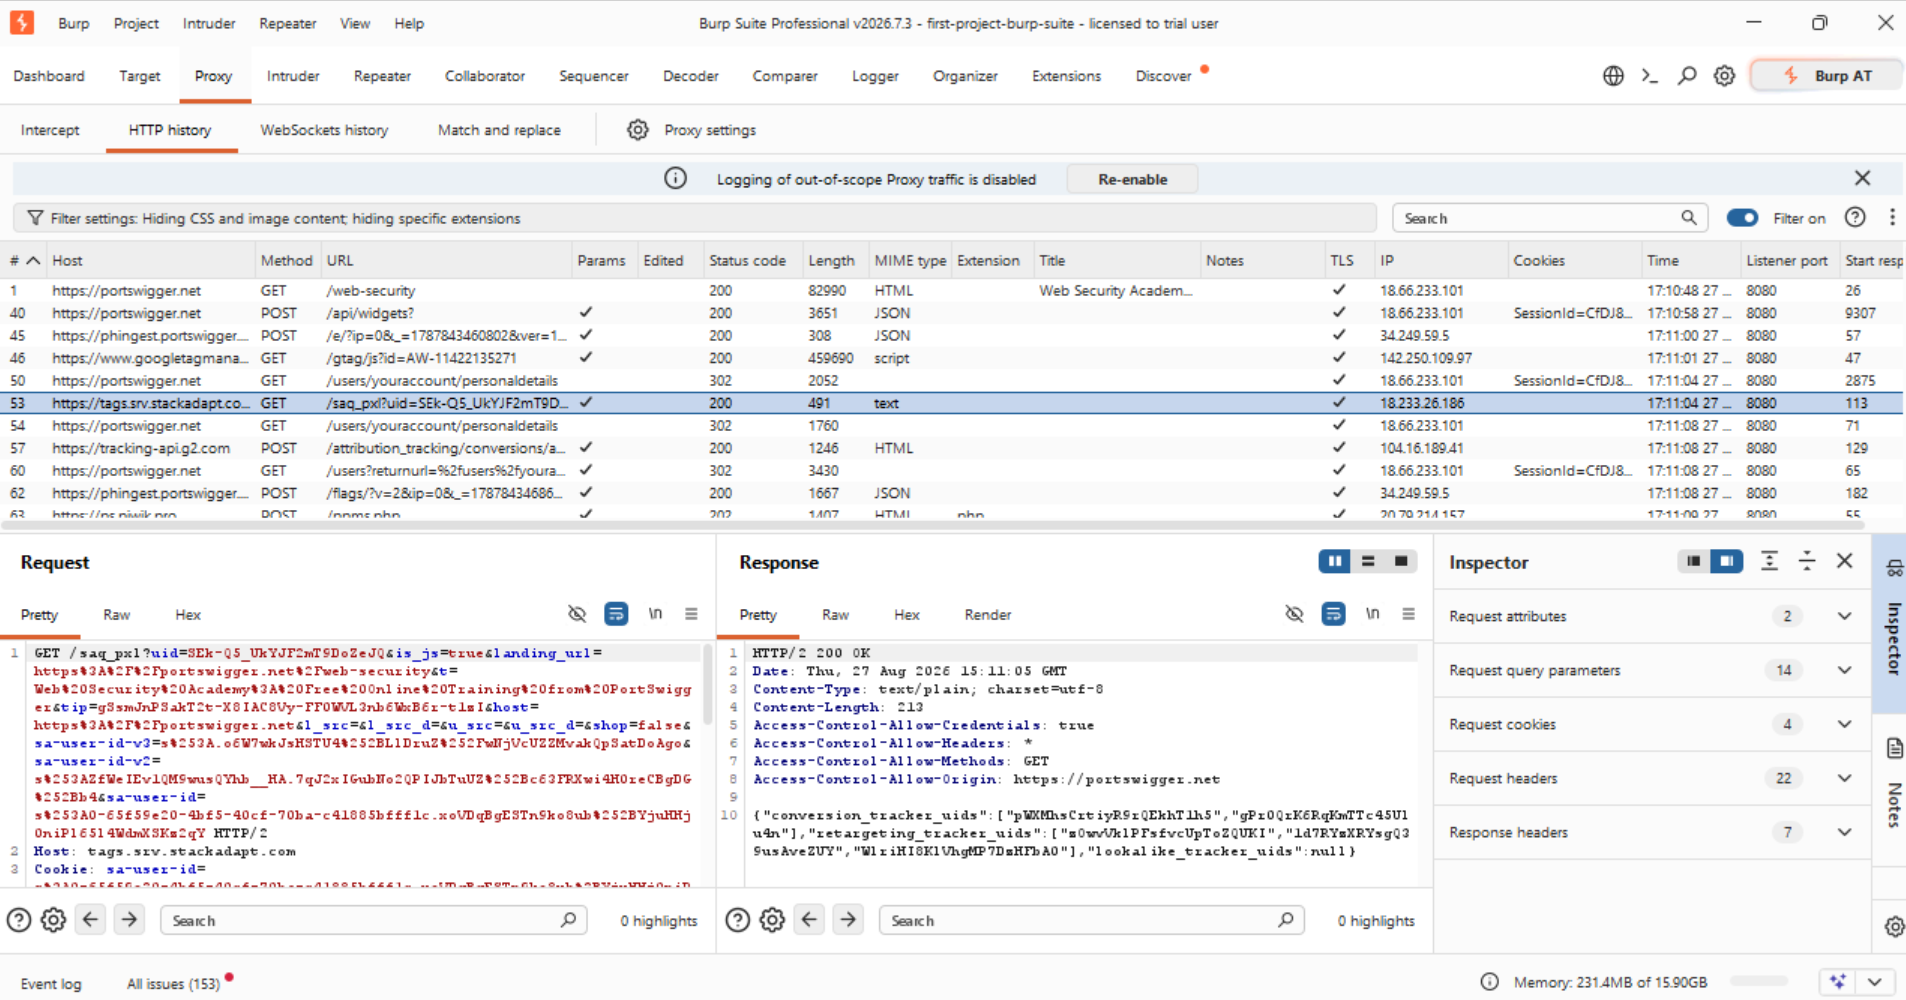
Return to Burp Suite and open: Proxy → HTTP history. You should see a list of HTTP requests and responses. Select one entry to inspect its details.
The request section may include:
- the HTTP method, such as GET or POST;
- the requested path;
- request headers;
- cookies;
- URL or body parameters;
- the request body.
The response section may contain:
- the HTTP status code;
- response headers;
- cookies set by the application;
- HTML, JSON or other returned content.
If entries appear in HTTP history, your first Burp Suite project is working correctly.
Set the target scope
Modern web pages often communicate with many external services. Consequently, HTTP history may quickly fill with requests to analytics platforms, content delivery networks and unrelated domains.
Burp’s target scope identifies the hosts and URLs that belong to your assessment. Setting it early makes the collected data easier to review. More importantly, it helps reduce the risk of testing systems outside your authorisation.
To add your laboratory to the scope:
1. Open Target → Site map.
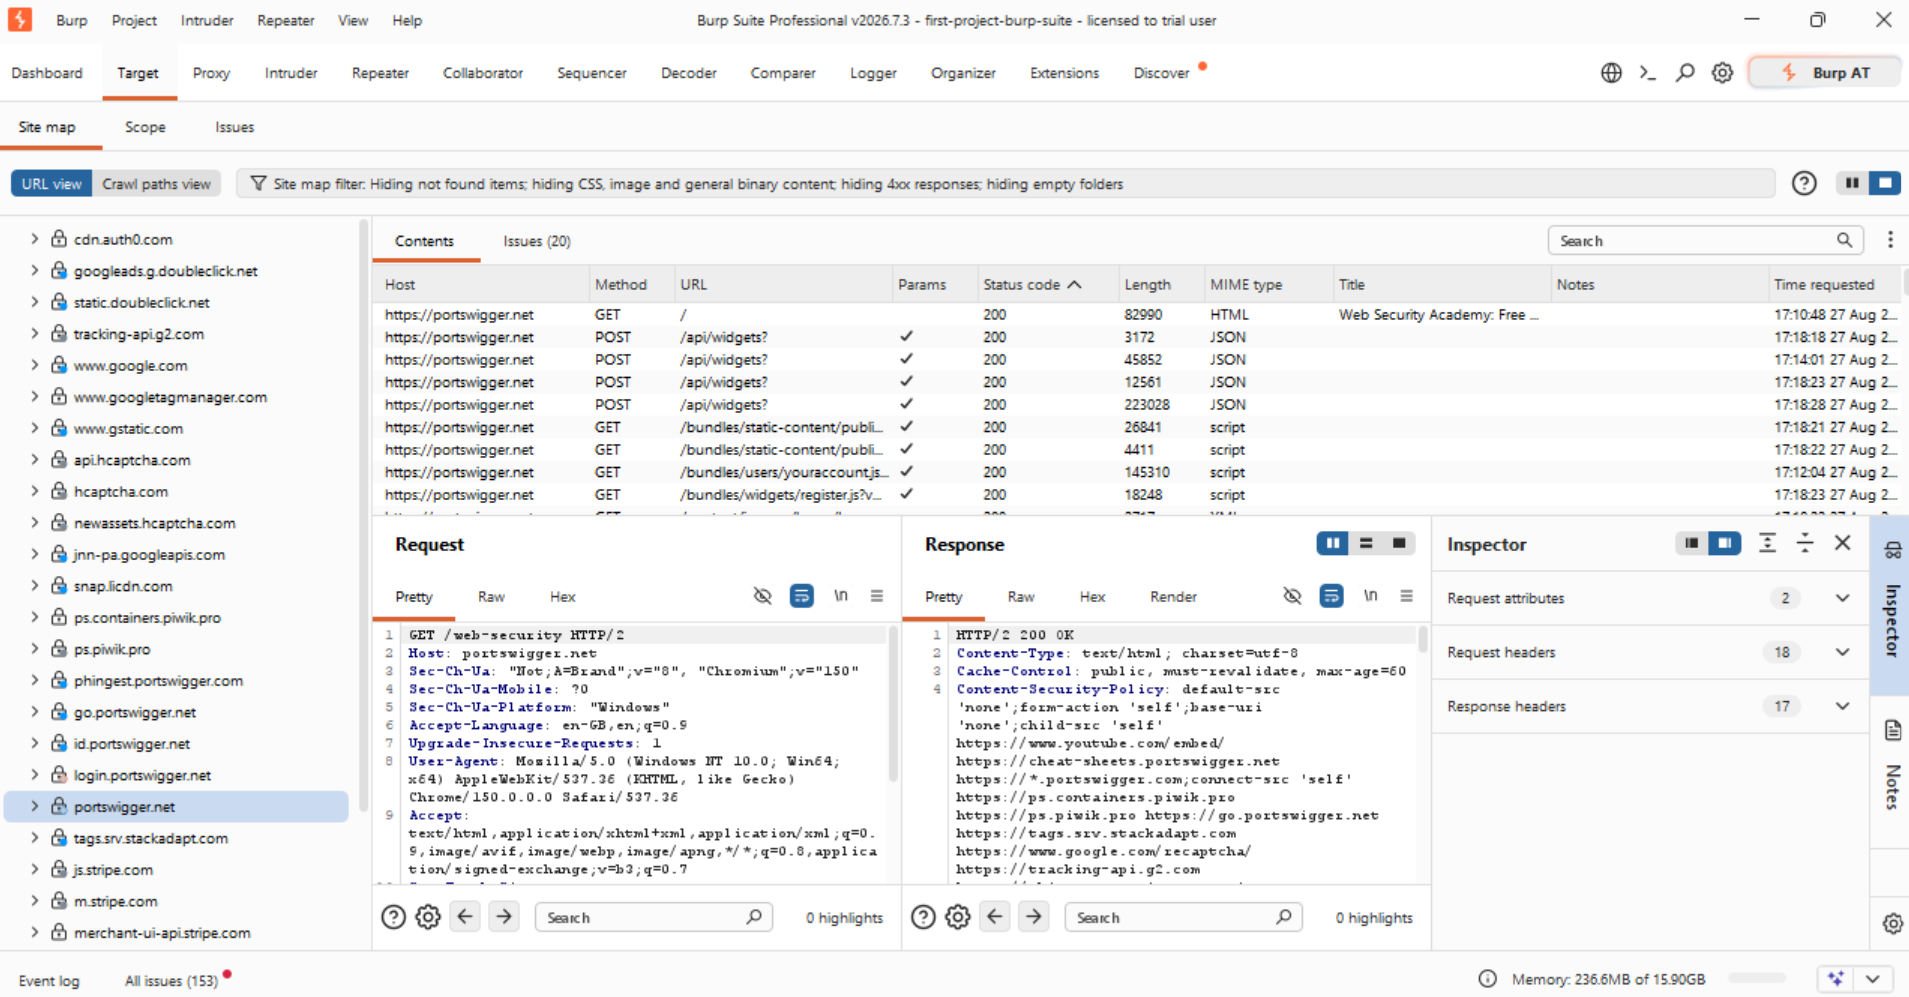
2. Find the laboratory host.
3. Right-click the host.
4. Select Add to scope.
5. Confirm the change if Burp displays a warning.
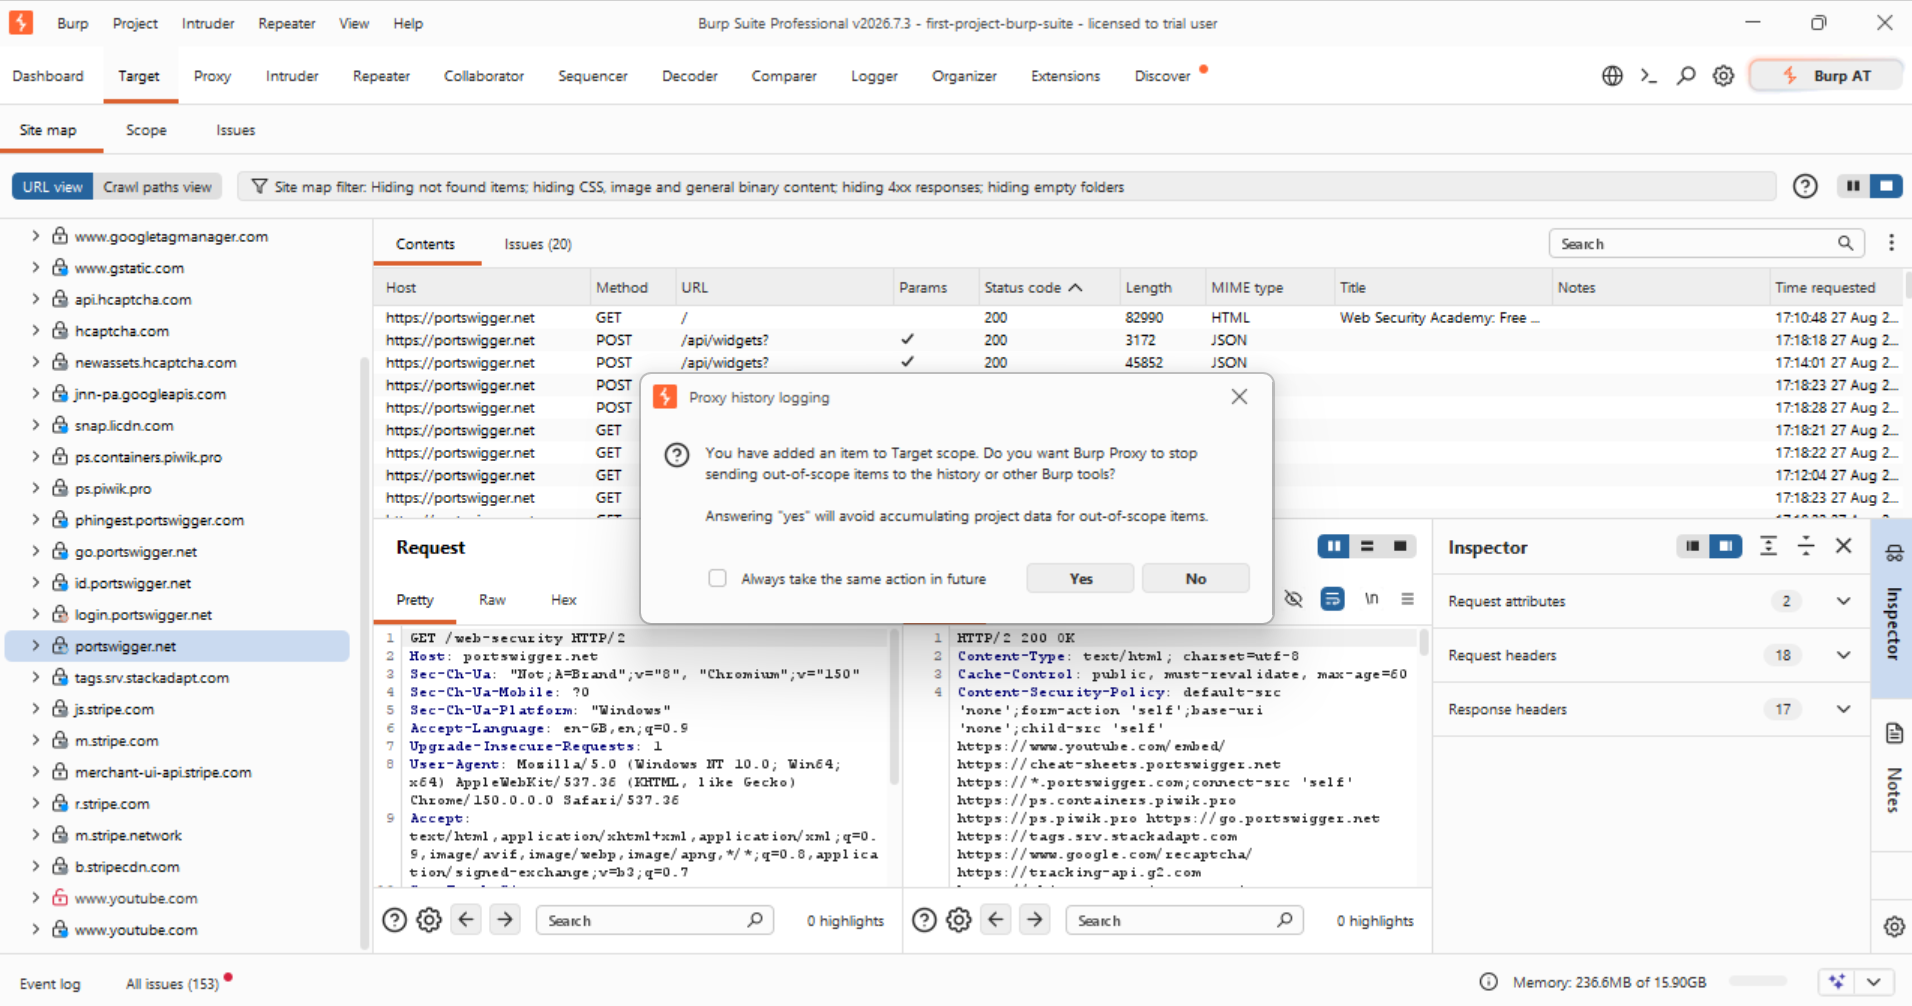
Burp may ask whether you want to exclude out-of-scope traffic from Proxy history. For a focused exercise, accepting this option usually makes the history easier to read.
You can review the configured scope under: Target → Scope. Always check that the hostname is correct. A scope setting is an organisational and technical safeguard, but it does not replace formal permission to test a system.
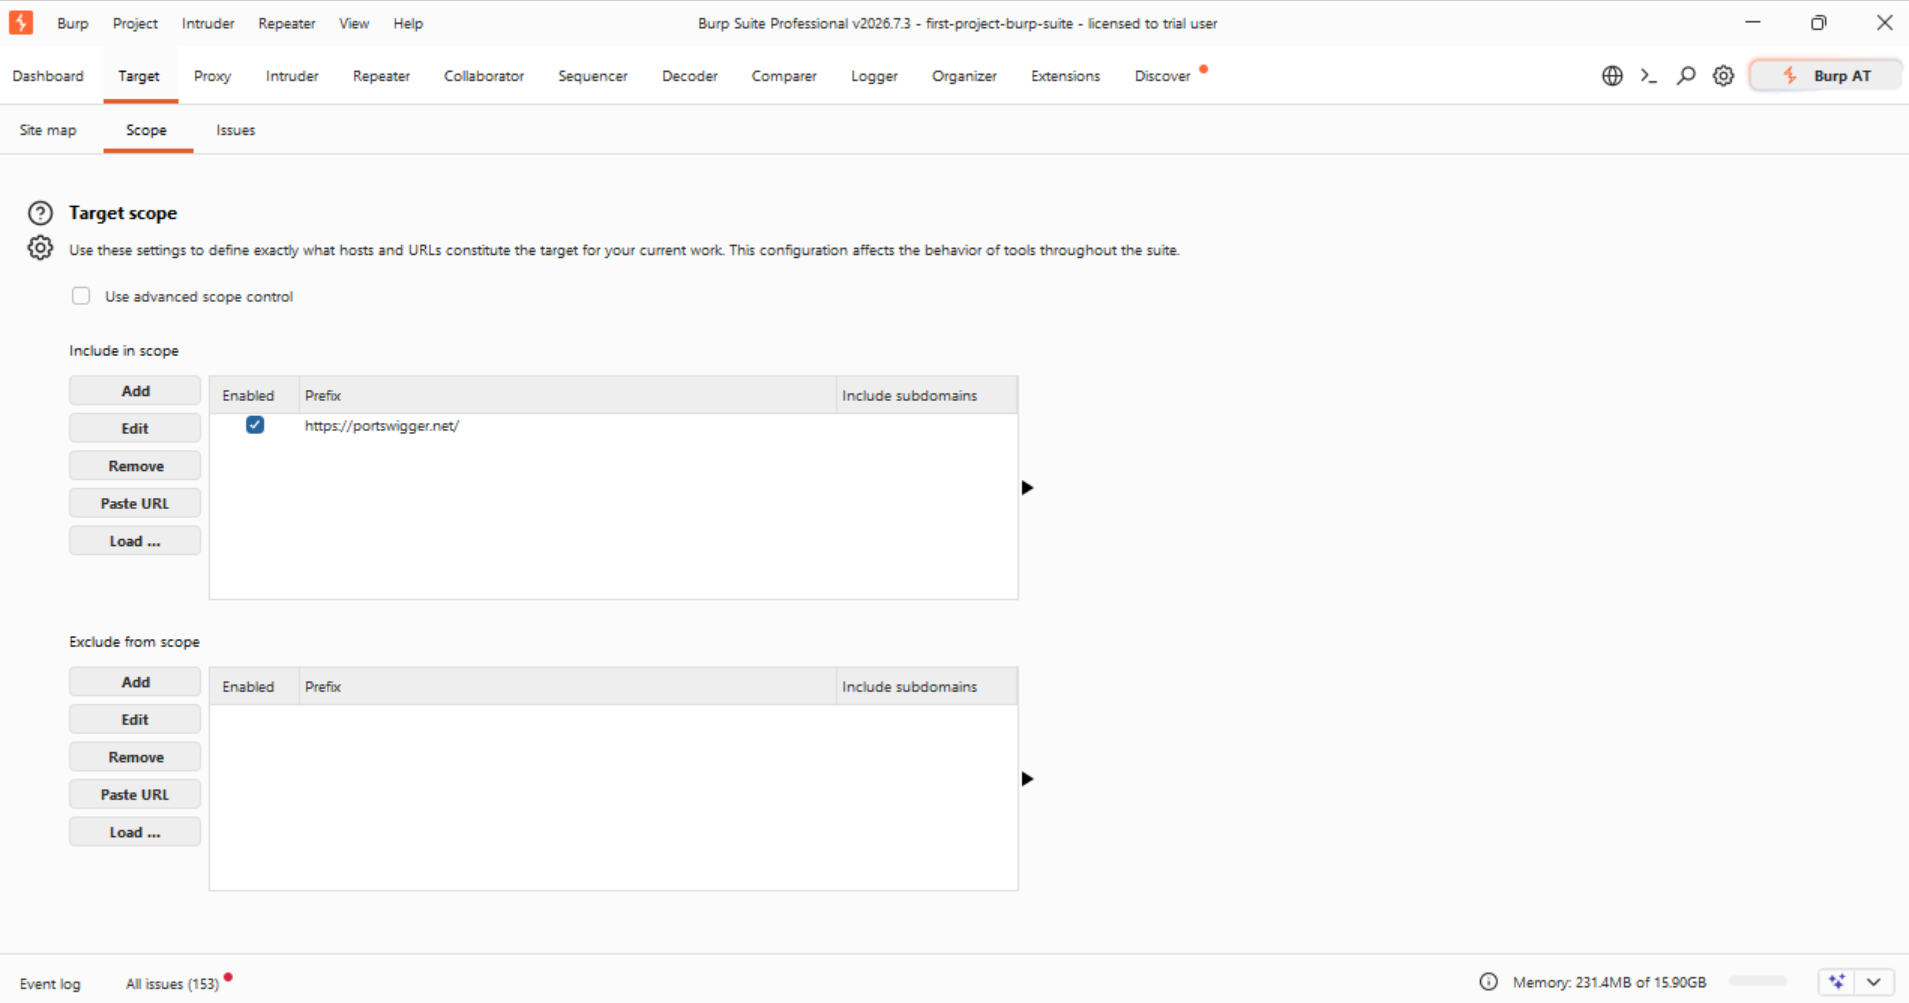
Send your first request to Repeater
Repeater is one of the Burp tools you will use most frequently. It allows you to investigate how an application responds when a request changes.
To send a request to Repeater:
1. Open Proxy → HTTP history.
2. Select a request sent to your laboratory.
3. Right-click the request.
4. Choose Send to Repeater.
5. Open the Repeater tab.
6. Click Send.
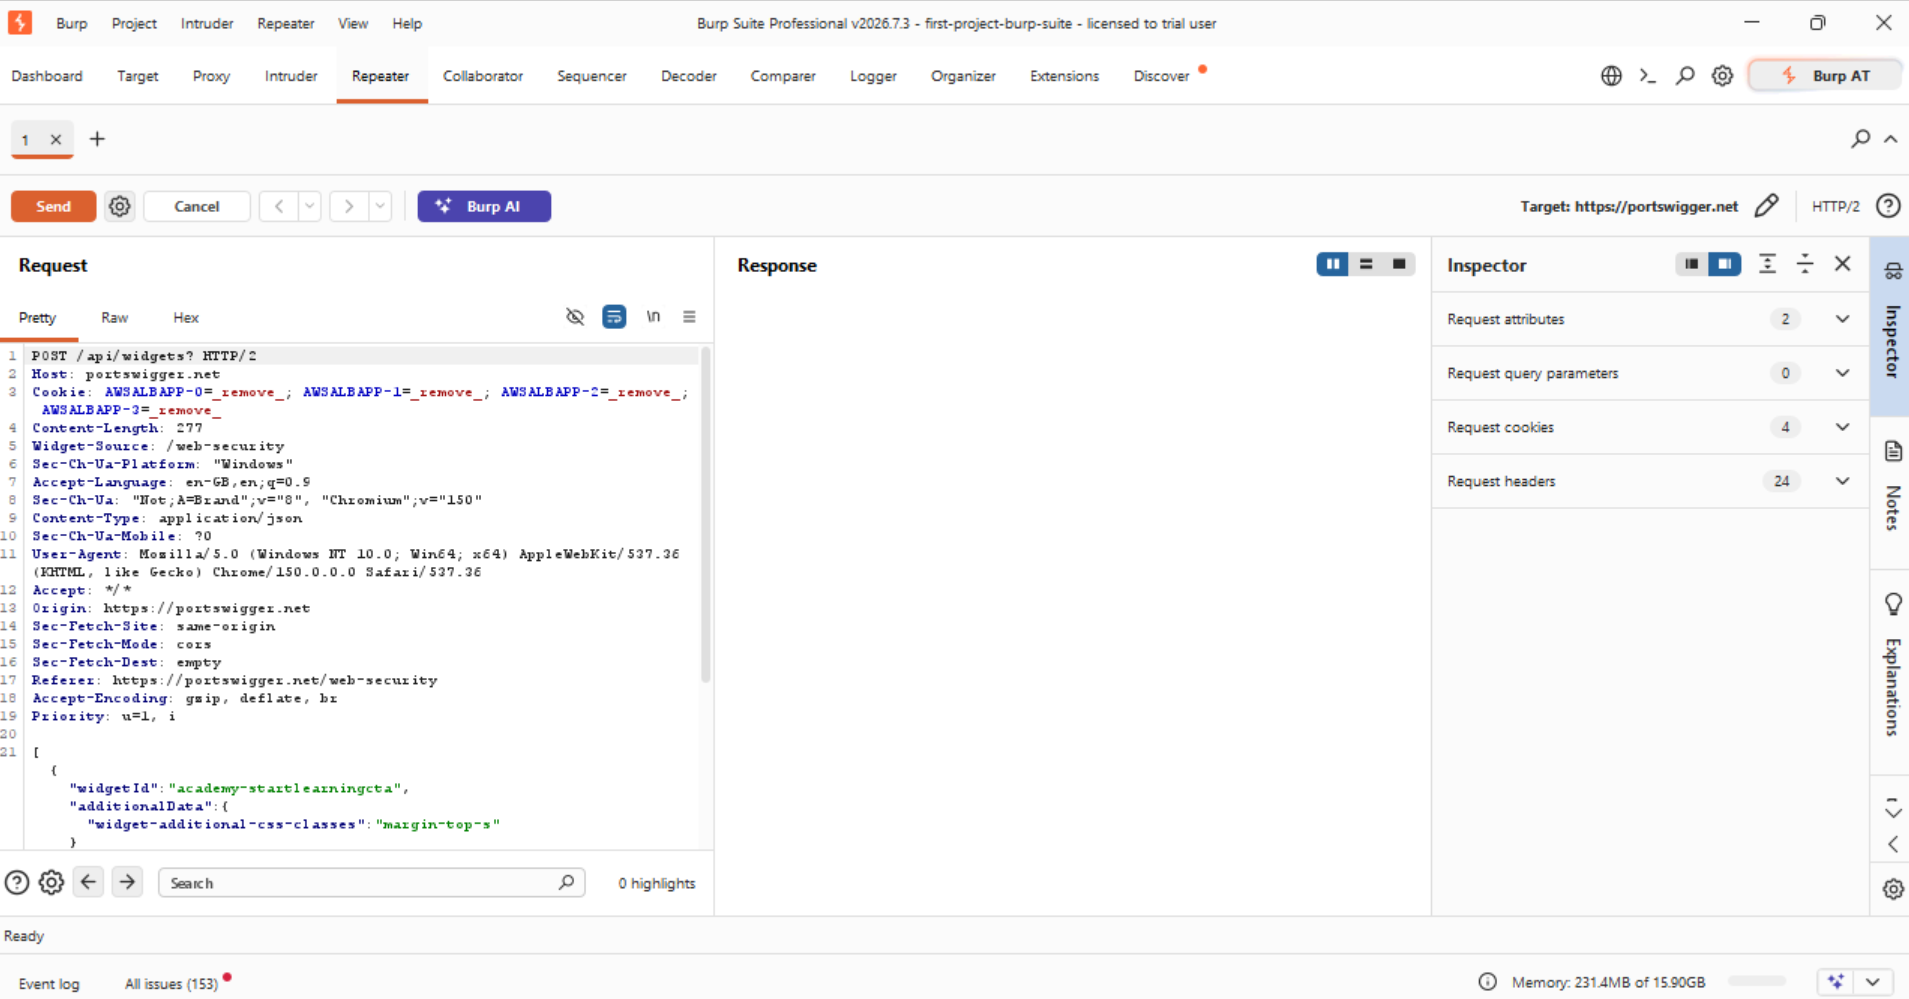
Burp displays the server’s response on the right-hand side. Next, make a harmless change to a request parameter and send the request again.
For example, if the URL contains: ?productId=1 change it to: ?productId=2.
Then compare the two responses. This simple exercise demonstrates the central idea behind manual web application testing: capture a valid request, change one element and observe the application’s response.
How to save and reopen a Burp Suite project
If you created a disk-based project, Burp stores the project data in the selected file. Close Burp normally to ensure that it completes its shutdown operations.
To reopen the workspace:
- Start Burp Suite.
- Select Open existing project.
- Browse to the project file.
- Choose the appropriate configuration.
- Click Start Burp.
Burp then restores the project’s most recent data and settings.
A temporary project cannot be reopened after Burp closes. Therefore, export or record any important observations before ending the session.
Common problems with a first Burp Suite project
The browser keeps waiting and does not load the page
First, check Proxy → Intercept. If the button says Intercept is on, Burp is probably waiting for your decision.
Click Forward to send the current request or change the setting to Intercept is off.
HTTP history is empty
Make sure that you opened the website in Burp’s built-in browser rather than your normal browser. Then confirm that Burp is running and the page has finished loading.
Also check whether filters are hiding some entries in HTTP history.
The page displays a certificate warning
Burp’s built-in browser should trust Burp’s CA certificate automatically. However, a separately configured browser requires additional certificate and proxy configuration.
For your first project, return to Proxy → Intercept and use Open browser.
Too many unrelated requests appear
Set the target scope and configure HTTP history to show only in-scope items. This removes much of the noise generated by third-party services.
My work disappeared after closing Burp
You probably used a temporary project. Its contents exist only while Burp is running. Use a disk-based project in Burp Suite Professional when you need to resume your work later.
Good practices for Burp Suite projects
From the beginning, it is worth developing a few simple habits:
- Create a separate project for each application or assessment.
- Define the target scope before performing any active testing.
- Use clear filenames that include the application and assessment date.
- Store disk-based projects on an encrypted local drive.
- Treat project files as sensitive information.
- Do not upload project files to public repositories.
- Remove old project files according to your data-retention policy.
- Record important findings outside Burp as well.
- Close the application normally instead of terminating its process.
- Never test an application without the owner’s permission.
These practices become particularly important during professional assessments, where a project may contain customer data, session tokens and evidence of vulnerabilities.
Your first Burp Suite project is ready
You have now created a Burp Suite project, opened the built-in browser and captured your first HTTP requests. In addition, you have learnt how to define the target scope and send a request to Repeater.
The next step is to practise this workflow repeatedly:
- Open a safe laboratory.
- Browse the application through Burp.
- Review Proxy history.
- Add the target to scope.
- Send an interesting request to Repeater.
- Change one part of the request.
- Compare the response.
This small routine provides the foundation for more advanced web security testing. Once it feels natural, you can move on to authentication, access control, SQL injection and cross-site scripting laboratories.
Frequently asked questions about a Burp Suite project
Can I create a Burp Suite project in Community Edition?
You can use a temporary project in Burp Suite Community Edition. It is sufficient for learning the interface and completing many Web Security Academy laboratories. However, its data is lost when you close Burp.
Do I need to configure a browser proxy?
Not when you use Burp’s built-in browser. It is already configured to communicate through Burp Proxy. An external browser requires separate proxy and certificate configuration.
Why should I set the target scope?
The scope helps Burp distinguish the application under assessment from unrelated domains. It also makes Proxy history and the site map easier to analyse.
Is it safe to open a real website through Burp?
Simply capturing traffic is still a security-related activity. Only inspect or modify traffic for applications you own or are explicitly authorised to test. Use Web Security Academy laboratories for safe practice.
Where should I save a Burp project file?
PortSwigger recommends saving active project files on a local drive. Because they may contain sensitive data, use an encrypted location with suitable access controls.